Water Heater Installation Checklist (Tank & Tankless)
A water heater install shouldn’t feel like a mystery. Whether you’re replacing a standard tank unit or upgrading to tankless, a reliable installation comes down to a few fundamentals: correct sizing, safe connections, code-aware setup, and a verified startup (not just “it turns on”).
Use this checklist to understand what a quality water heater installation should include—before, during, and after the work—so you can avoid leaks, early failure, and surprise add-ons.
Why this checklist matters
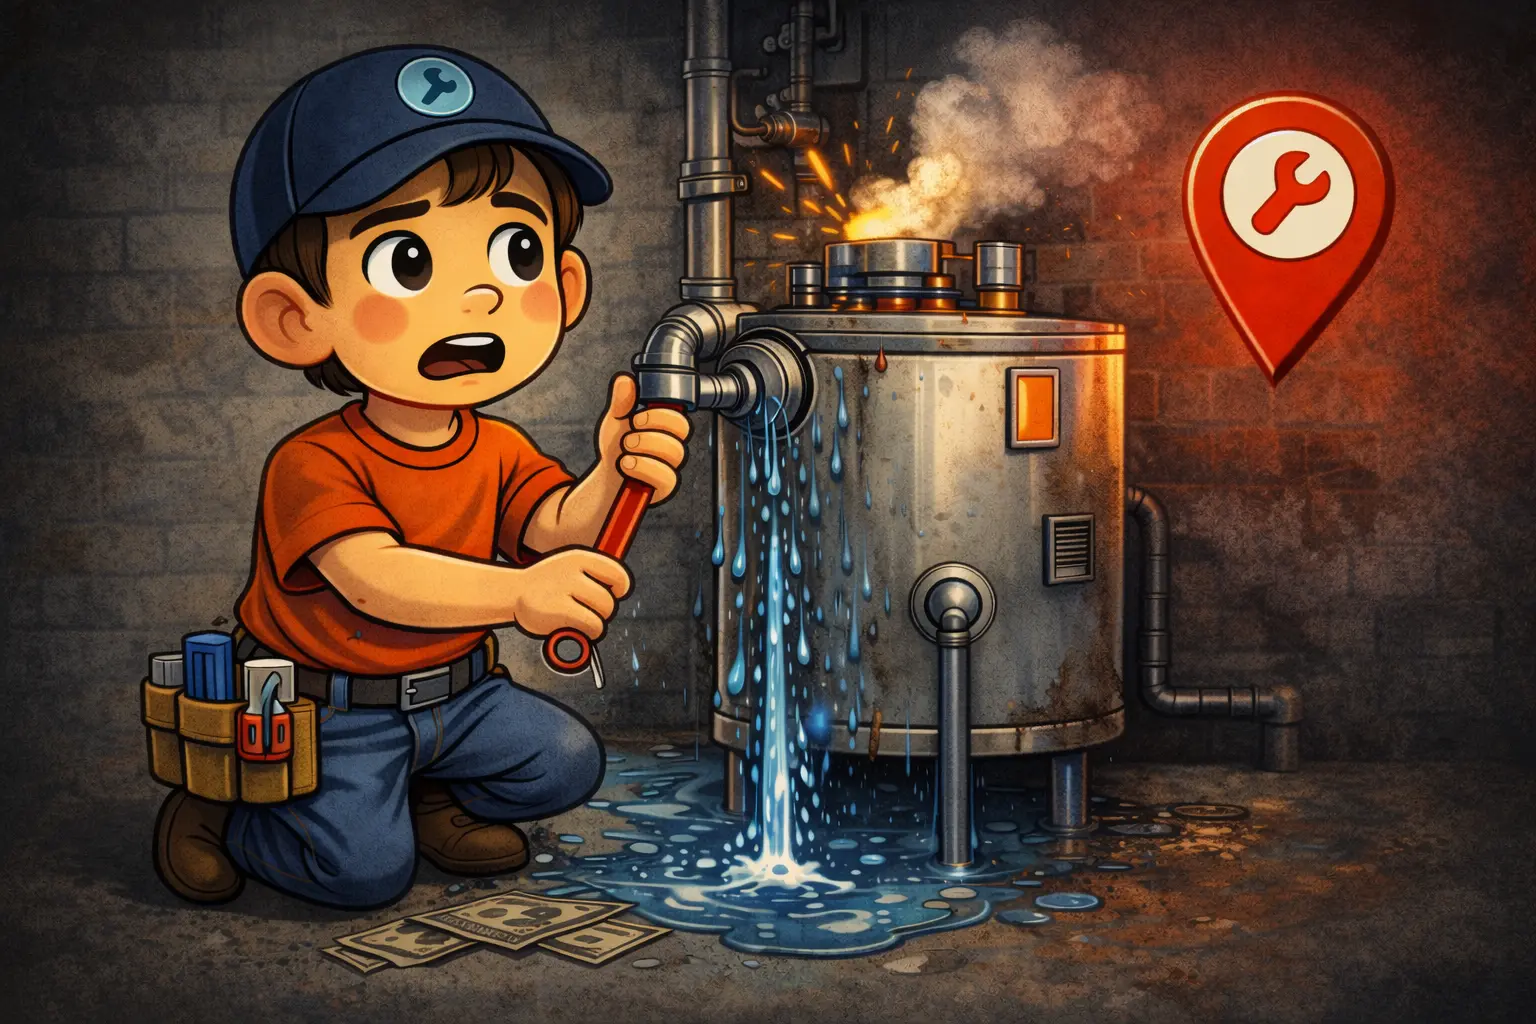
Many water heater problems aren’t caused by the heater itself—they come from the install: undersized units, missing safety components, poor venting, sloppy fittings, or skipping the startup checks. A good installer protects your home, follows safe practices, and proves the system is working correctly before they leave.
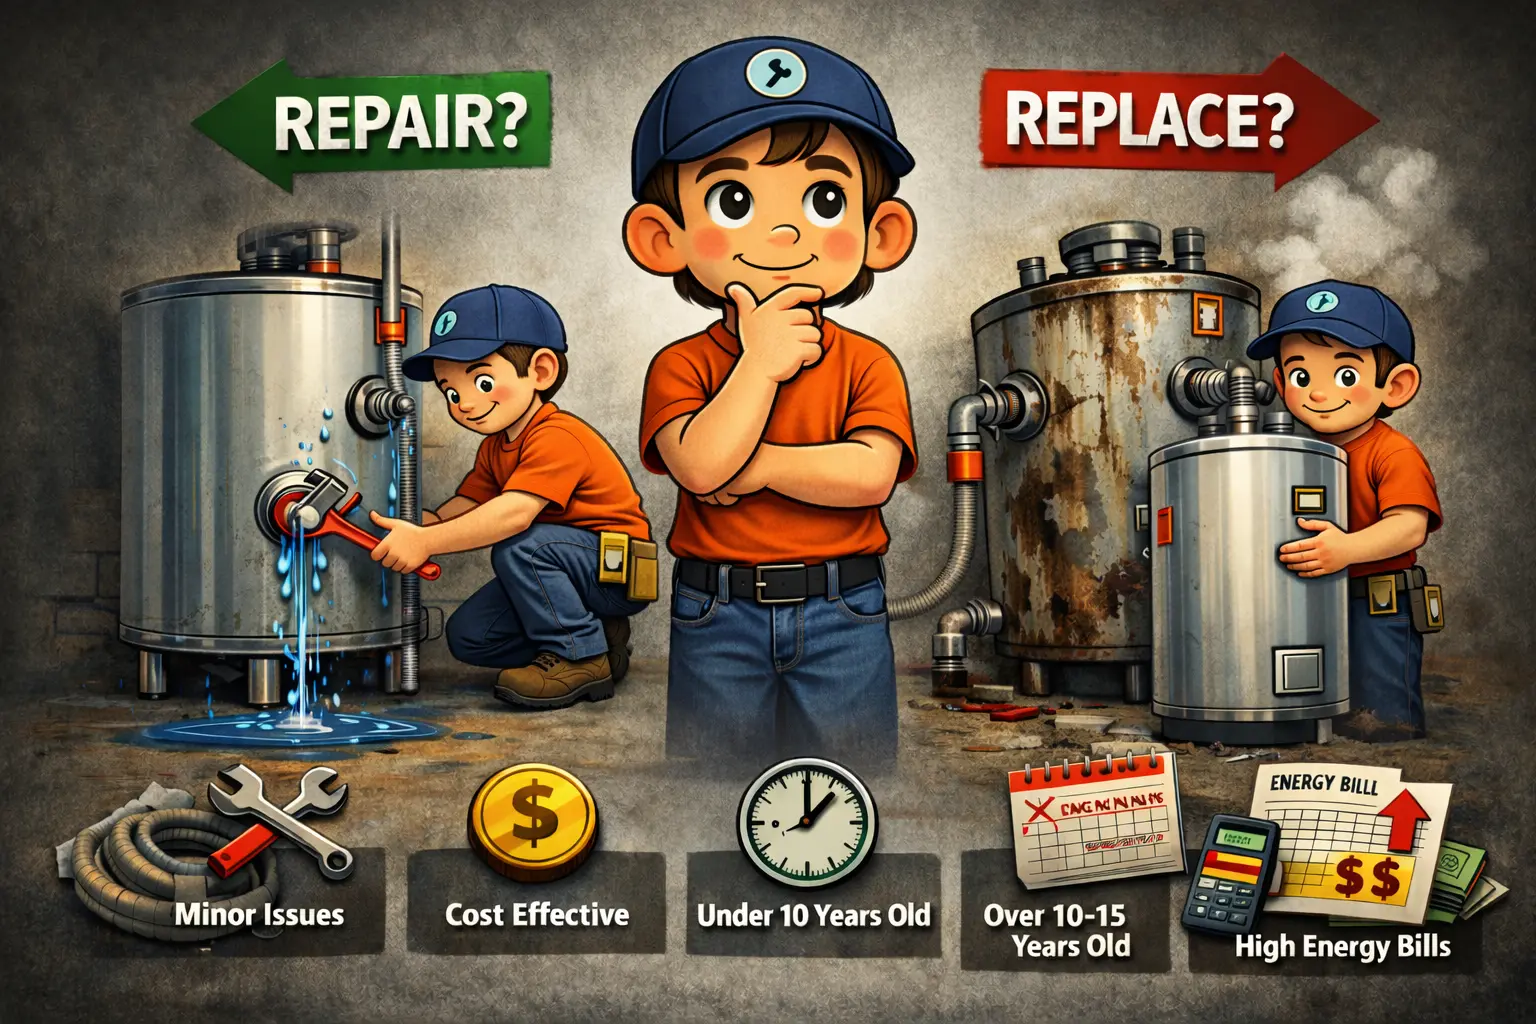
If you’re still deciding whether you should repair or replace, start here: Water Heater Repair vs. Replacement. And if your unit is already leaking, read this first: Water Heater Leaking: What to Do.
Before Installation
This is where most “surprises” happen. A clean install starts with the right plan—fuel type, size, location, and any required upgrades.
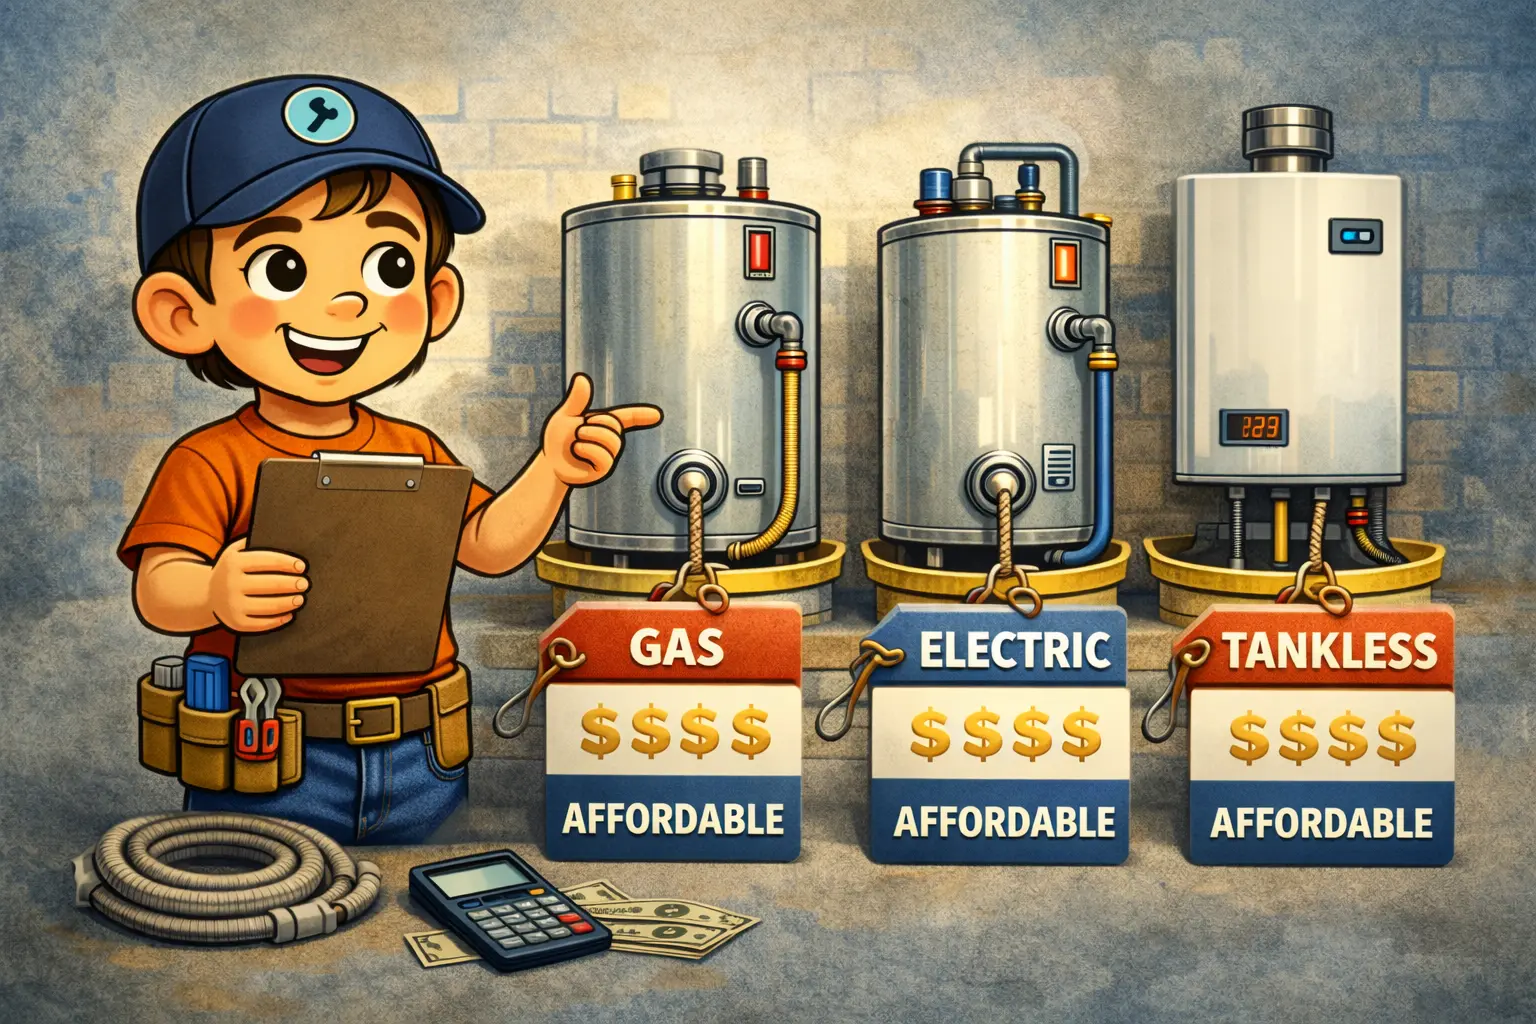
1) Confirm the fuel type and match the replacement
- Gas vs. electric: Confirm what you have now and what you’re installing.
- Venting: Gas units may require specific venting (and tankless often requires a different vent setup).
- Electrical: Electric units need the correct breaker size and wiring. Tankless electric often requires major electrical upgrades.
For requirements and common upgrades (pans, expansion tanks, venting, shutoff valves), see: Water Heater Installation Requirements.
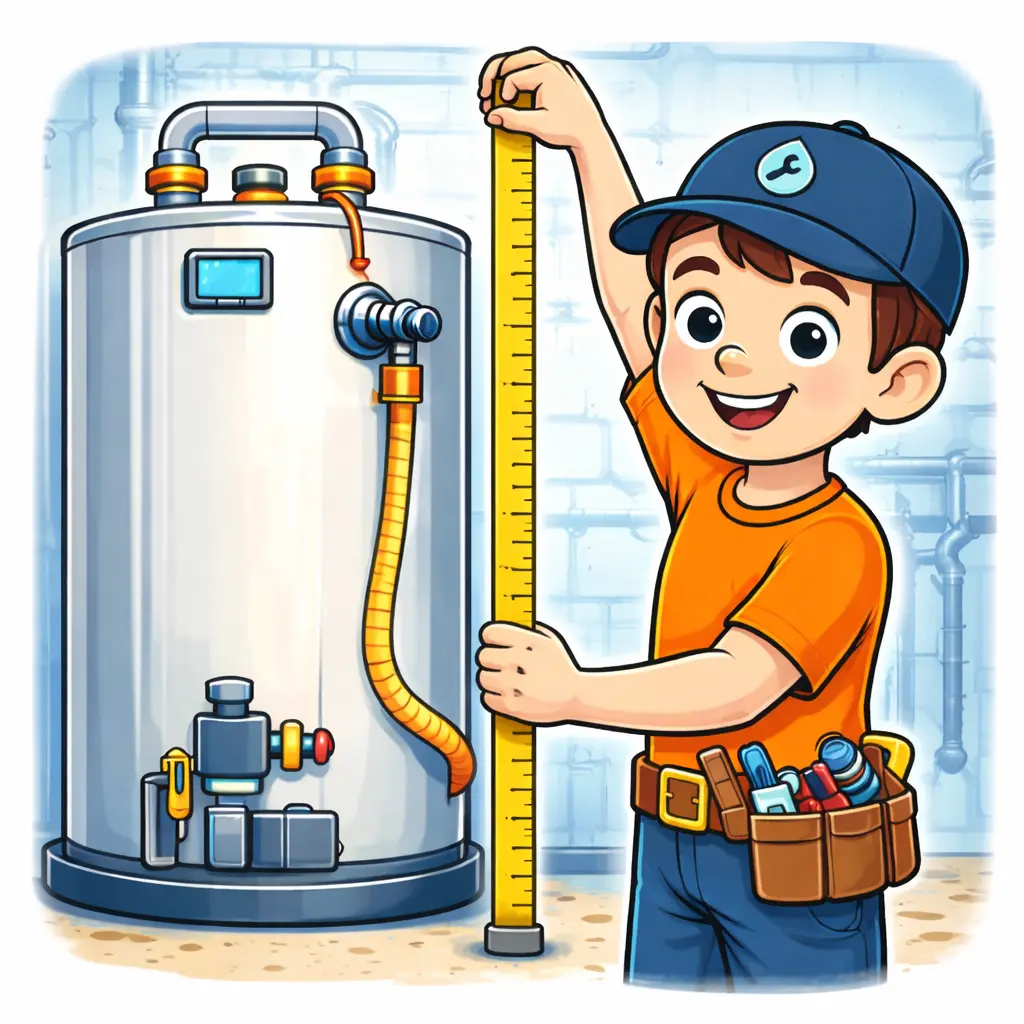
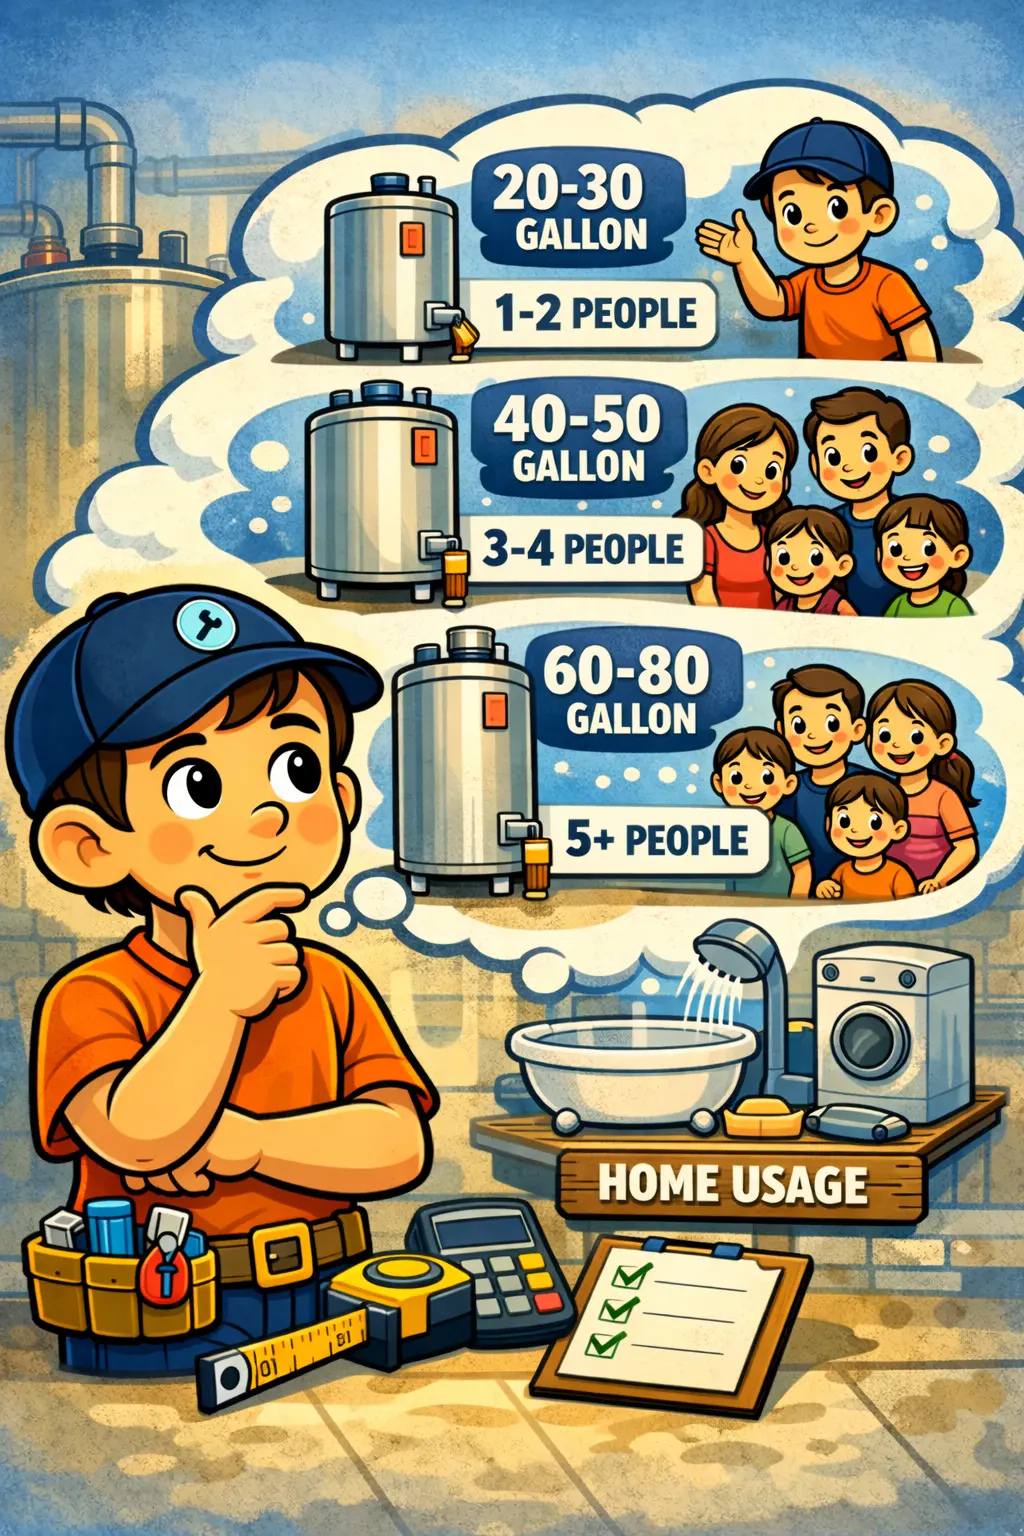
2) Confirm the correct size (don’t guess)
- Tank units: Capacity should match household demand (showers, laundry, dishwashing, etc.).
- Tankless: Correct sizing depends on flow rate (GPM) and temperature rise—not just number of bathrooms.
- Recovery rate matters: Two tanks with the same gallons can perform very differently.
Use these sizing guides: Water Heater Sizing Guide and What Size Water Heater Do I Need?.
3) Ask what updates may be needed (and why)
Common items that may be required for a safe, clean install:
- Shutoff valve (water and/or gas) if the existing one is old, seized, or not present.
- Drain pan + drain line where needed to prevent water damage.
- Thermal expansion tank (often needed when there’s a pressure-reducing valve or closed system).
- Venting updates for gas units, especially when switching to tankless.
- New fittings/lines if corrosion, mismatched sizes, or unsafe connections exist.
- Temperature & pressure relief valve (T&P) discharge line routed safely.
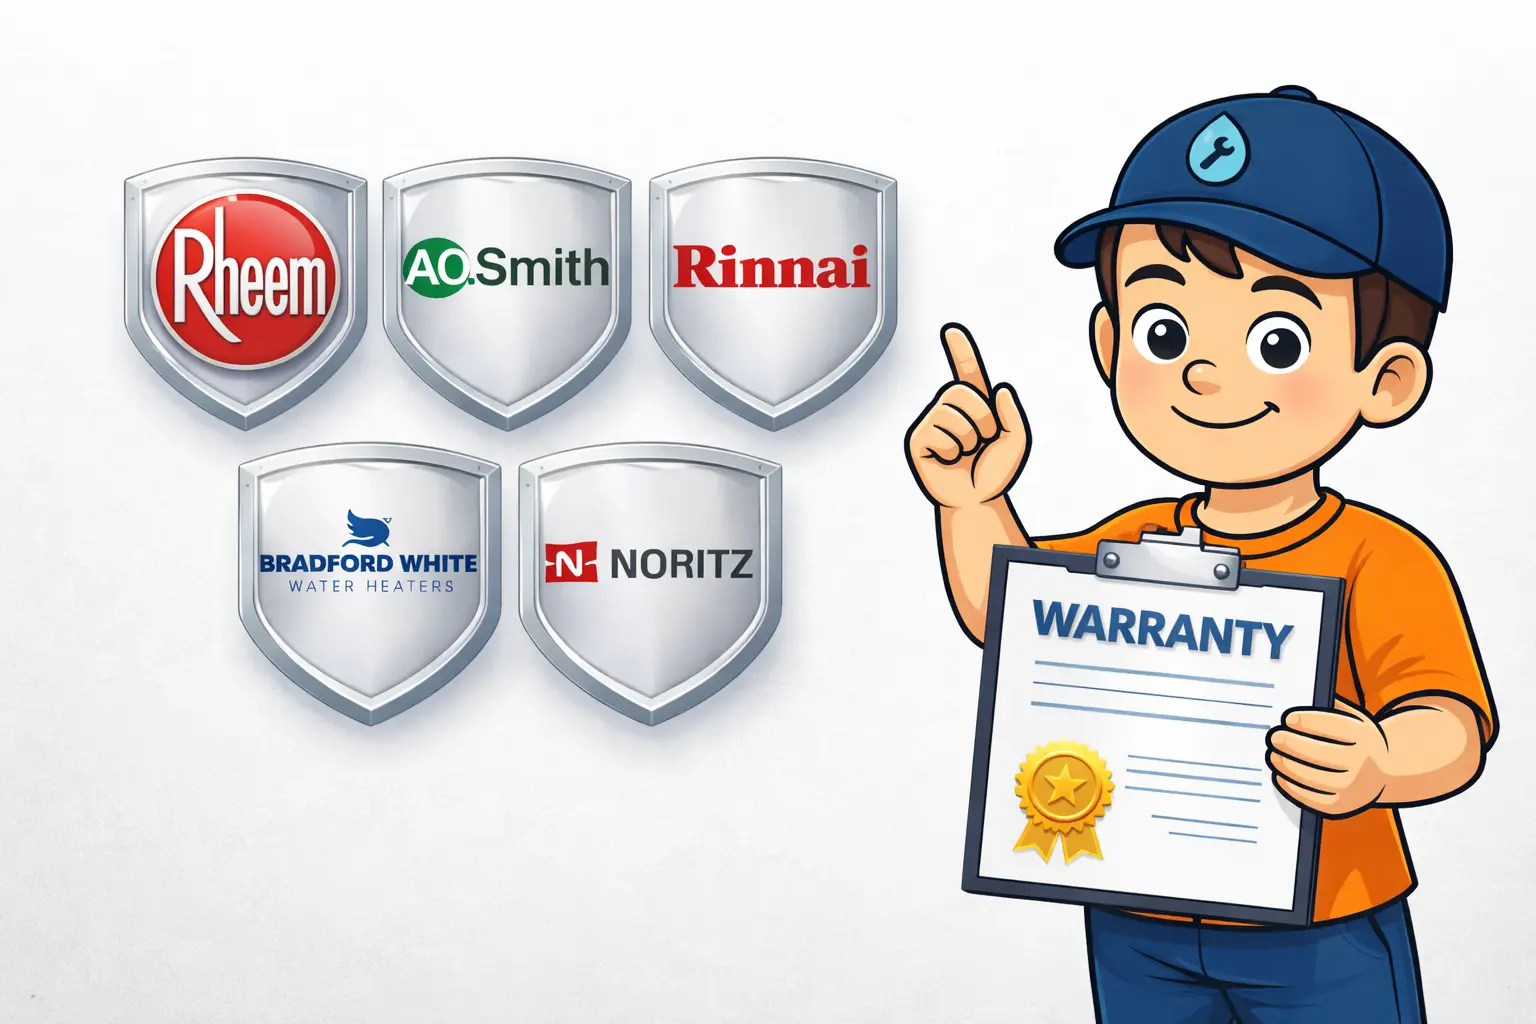
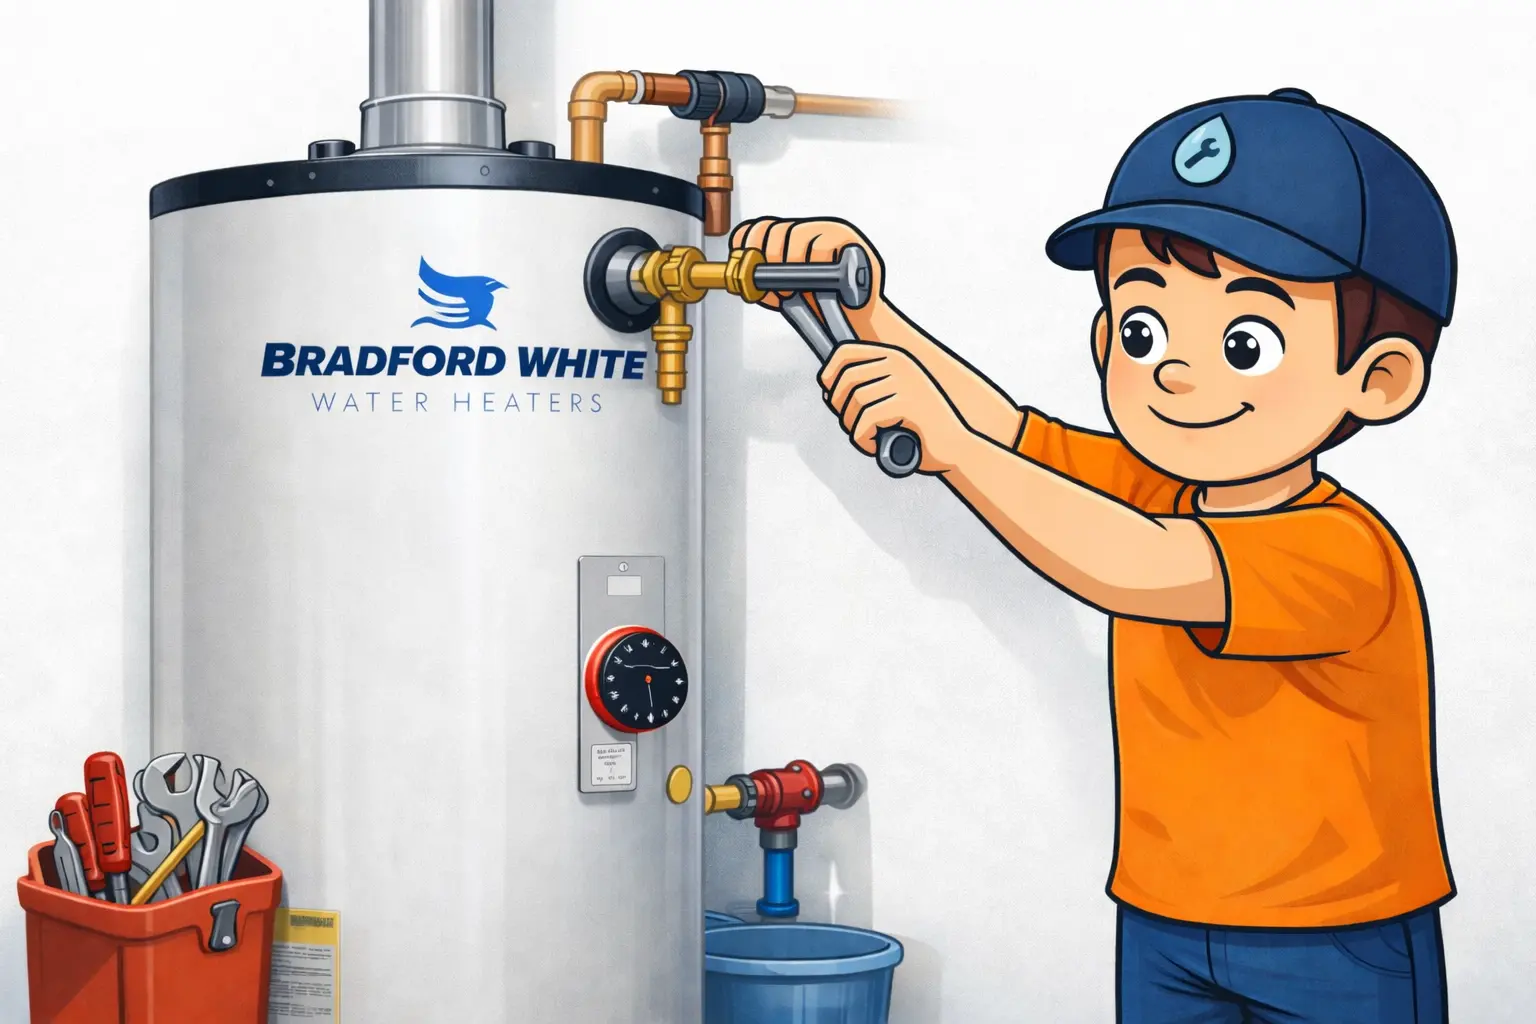
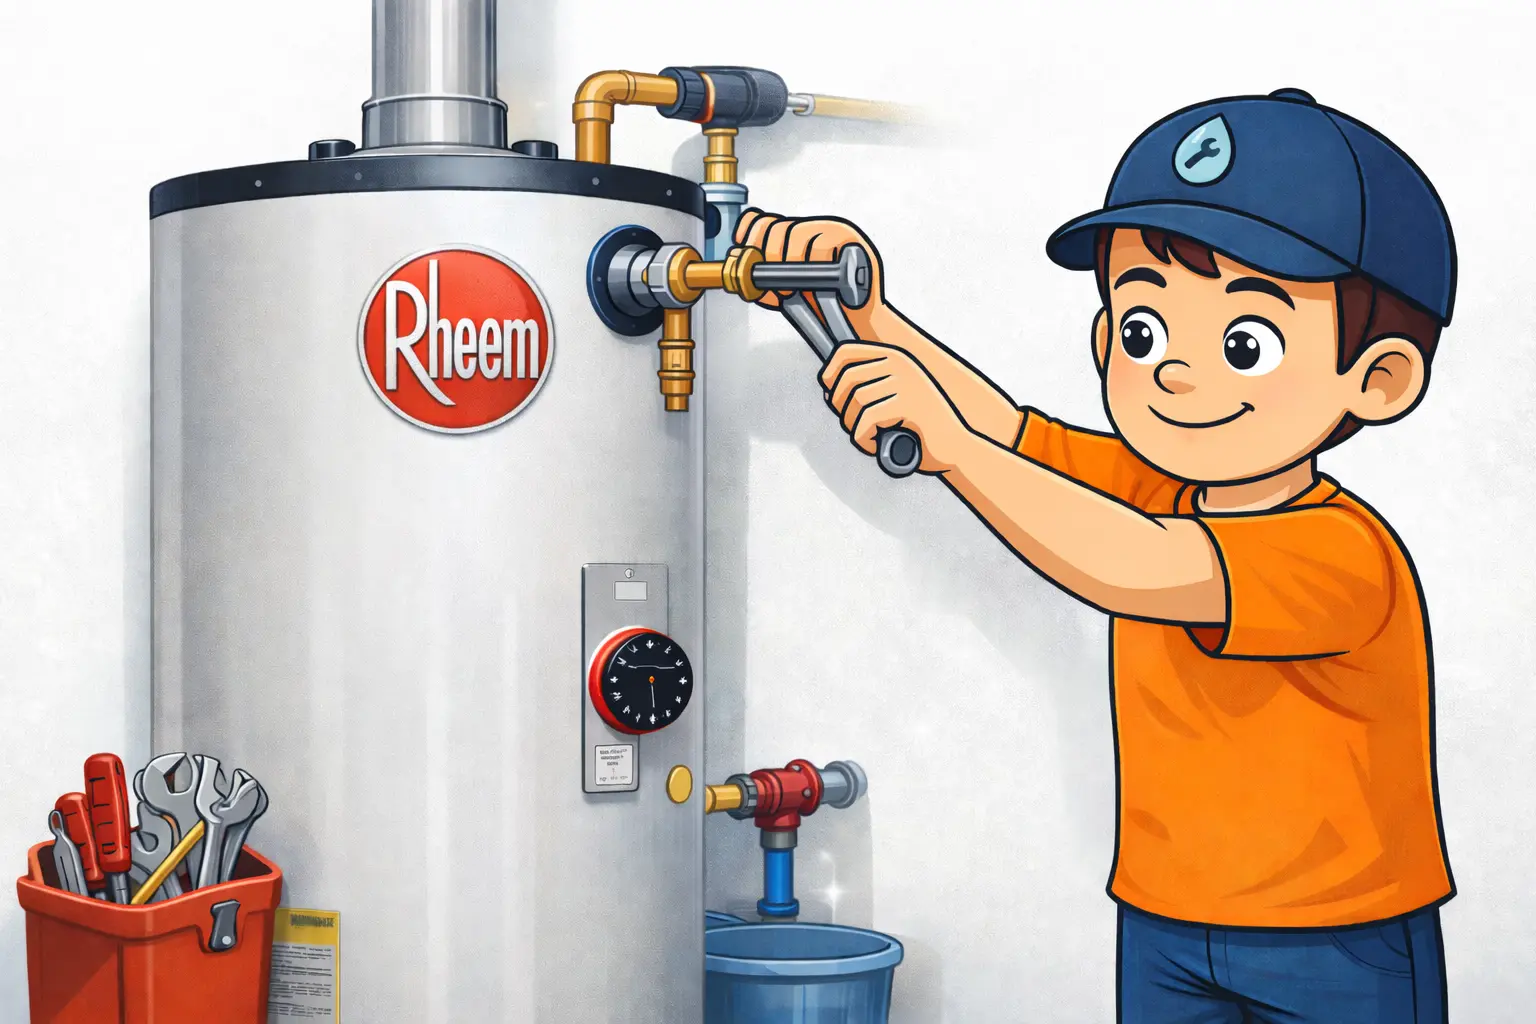
If you’re upgrading brands, you may also like: A. O. Smith Installation Notes, Rheem Installation Notes, and Bradford White Installation Notes.
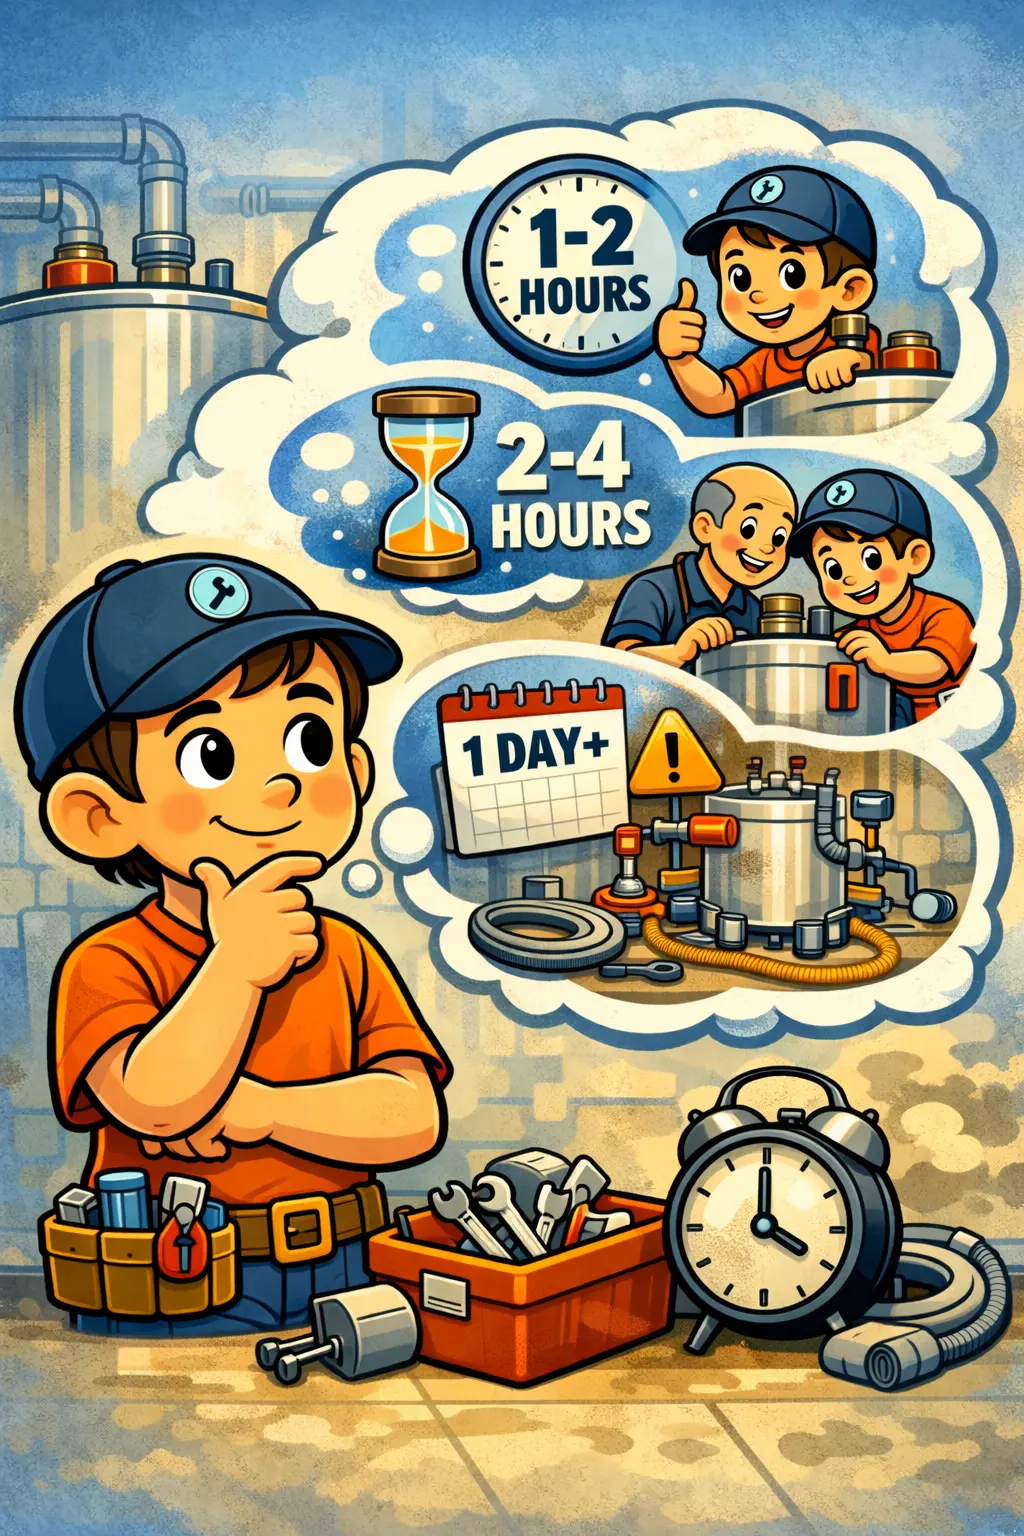
4) Confirm the timeline (set expectations)
Ask how long the job should take and what could extend it (tight spaces, code upgrades, venting changes, corrosion, access issues). Here’s a breakdown: How Long Does Water Heater Installation Take?.
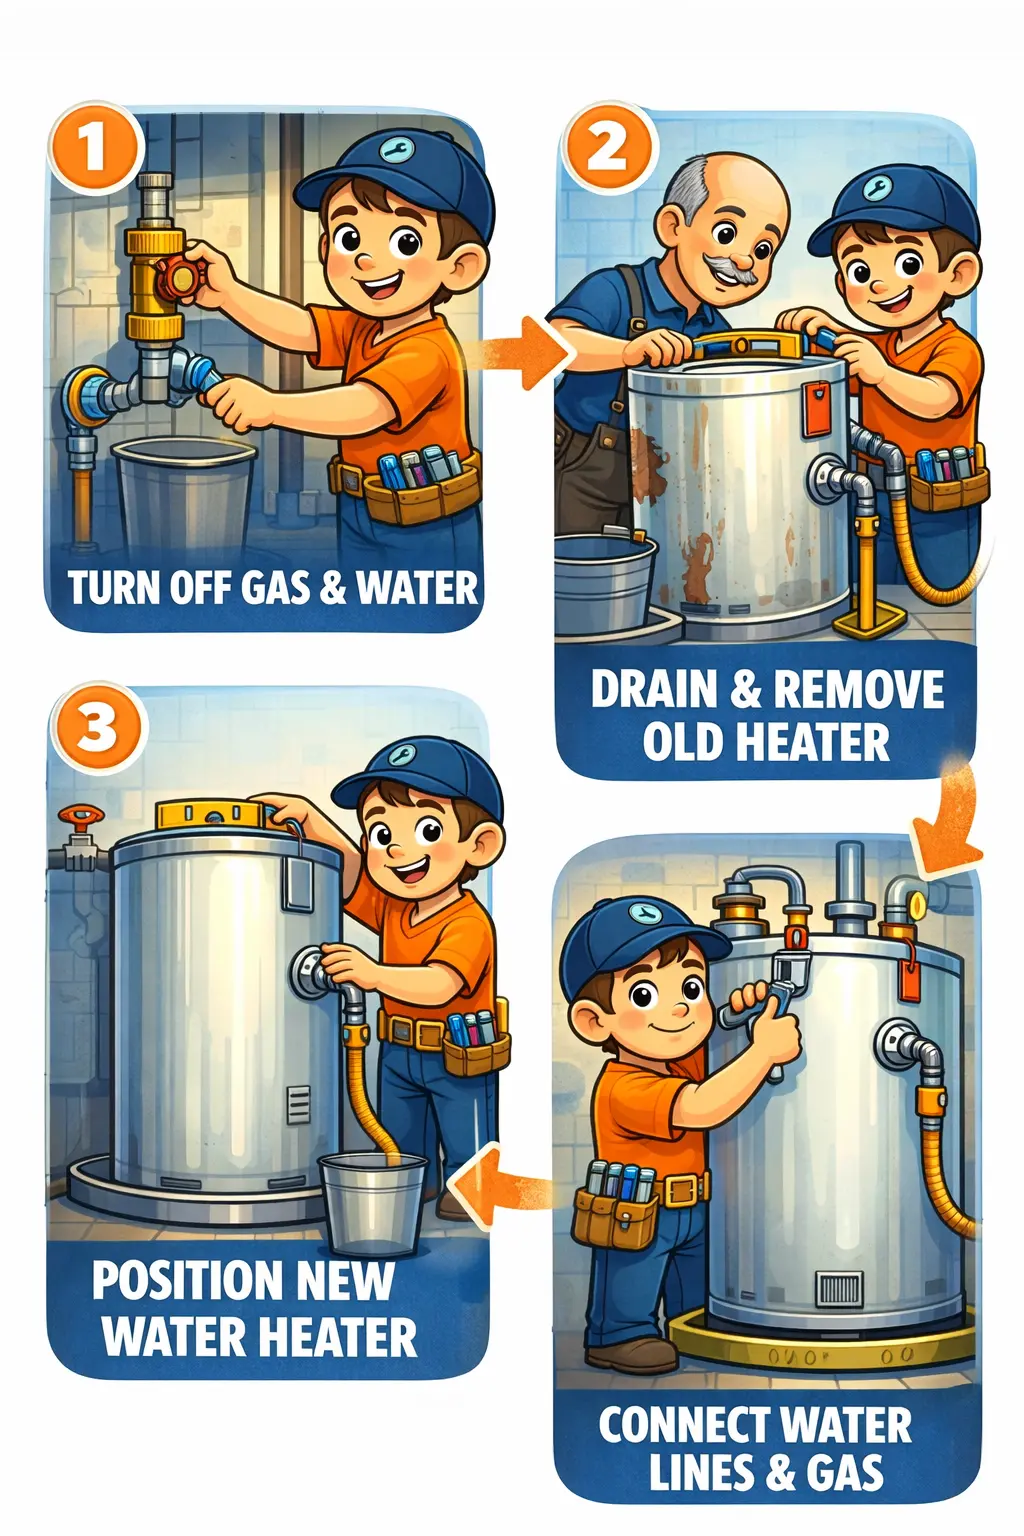
During Installation
1) The work area should be protected and organized
- Floor protection (especially in finished areas, closets, and garages).
- Controlled draining and removal of the old unit (no messy spills or water damage).
- Clear access to the heater after install (service clearance matters).
2) The old unit should be removed cleanly
- Water is shut off properly and the system is drained safely.
- Gas is shut off safely (for gas units) and connections are handled correctly.
- Old fittings are assessed—reusing corroded or worn parts is a common cause of leaks.
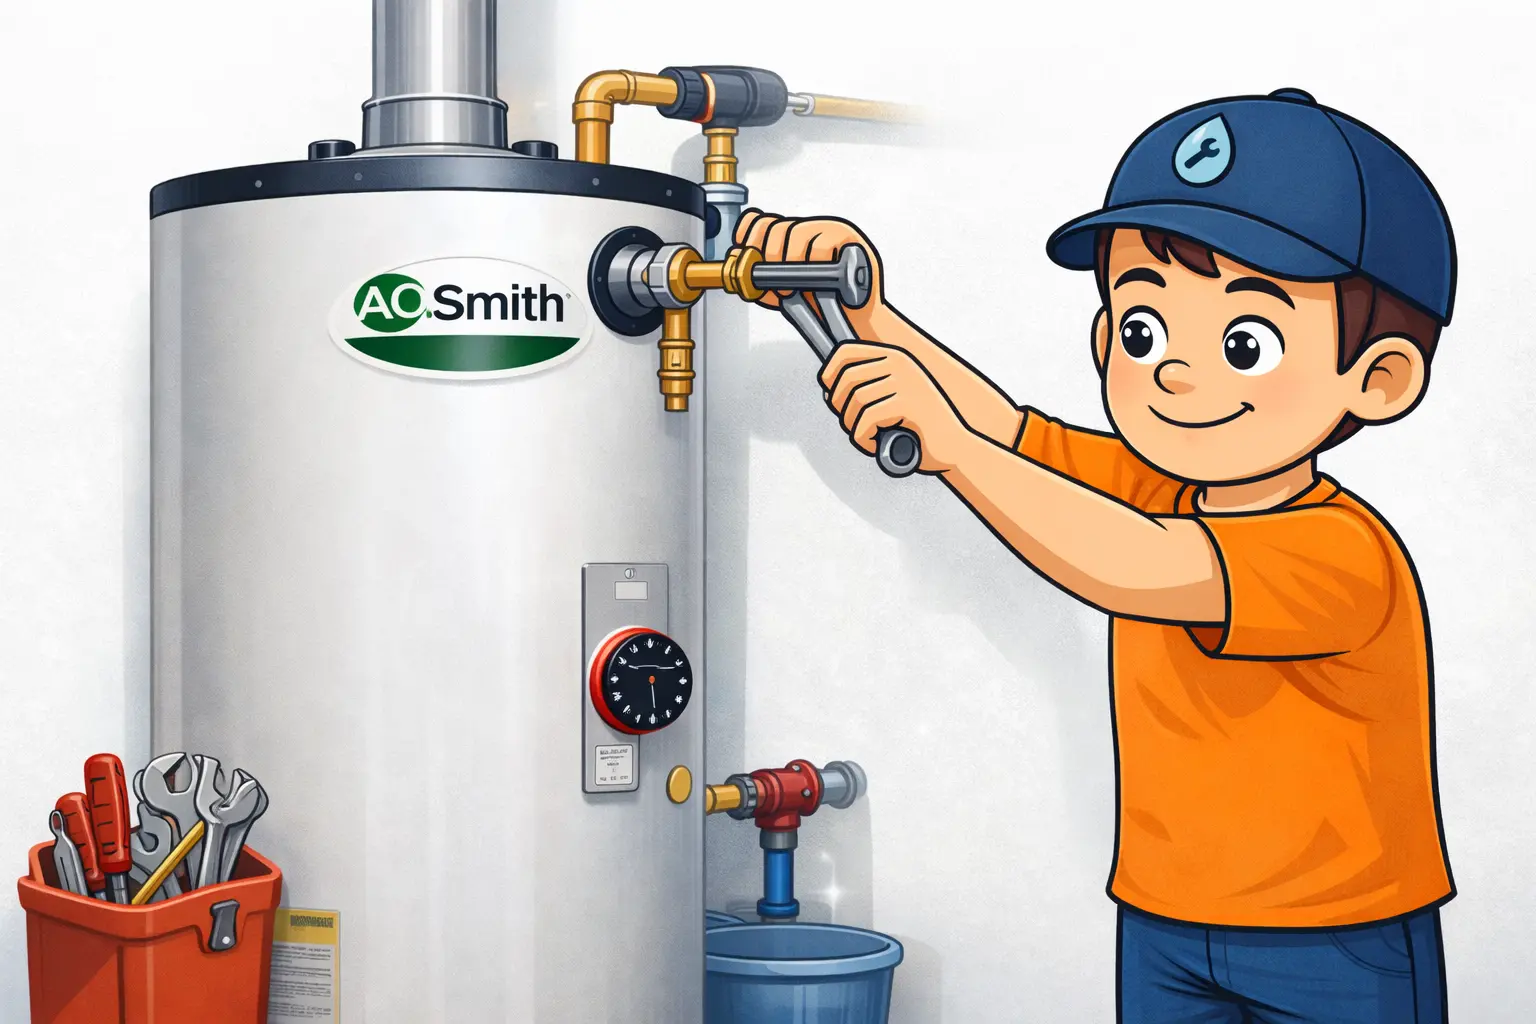
3) Connections should look tidy, supported, and “natural”
You don’t need to be a plumber to spot sloppy work. A clean installation generally looks straight, supported, and intentional—no forced angles, wobbling lines, or fittings under stress.
- No kinked lines or awkward bends.
- Proper support/straps where needed.
- Valves are accessible and not buried behind the unit.
- T&P valve discharge line is installed correctly and routed safely.
4) Gas venting must be correct (if applicable)
- Venting is properly connected and sized.
- Drafting/spillage concerns are addressed.
- For tankless, venting often changes—this is a common upgrade point.
Thinking about tankless? Compare pros/cons here: Tank vs Tankless Water Heater.
5) Installation steps should follow a proven process
If you want to see what “good” typically looks like step-by-step, read: Water Heater Installation Process. For a deeper overview, see: Water Heater Installation Guide.
Startup Verification (the part most homeowners never see)
This is where you separate a basic install from a professional one. The goal is verified performance: safe startup, stable heating, and no leaks.
1) Proper fill and purge
- Tank units should be filled completely before energizing (especially important for electric).
- Air is purged from lines to prevent sputtering and inconsistent flow.
2) Heating performance is confirmed (not assumed)
- Hot water is verified at fixtures, not just at the heater.
- Burner/ignition (gas) or elements (electric) are operating normally.
- For tankless, stable temperature under flow is tested.
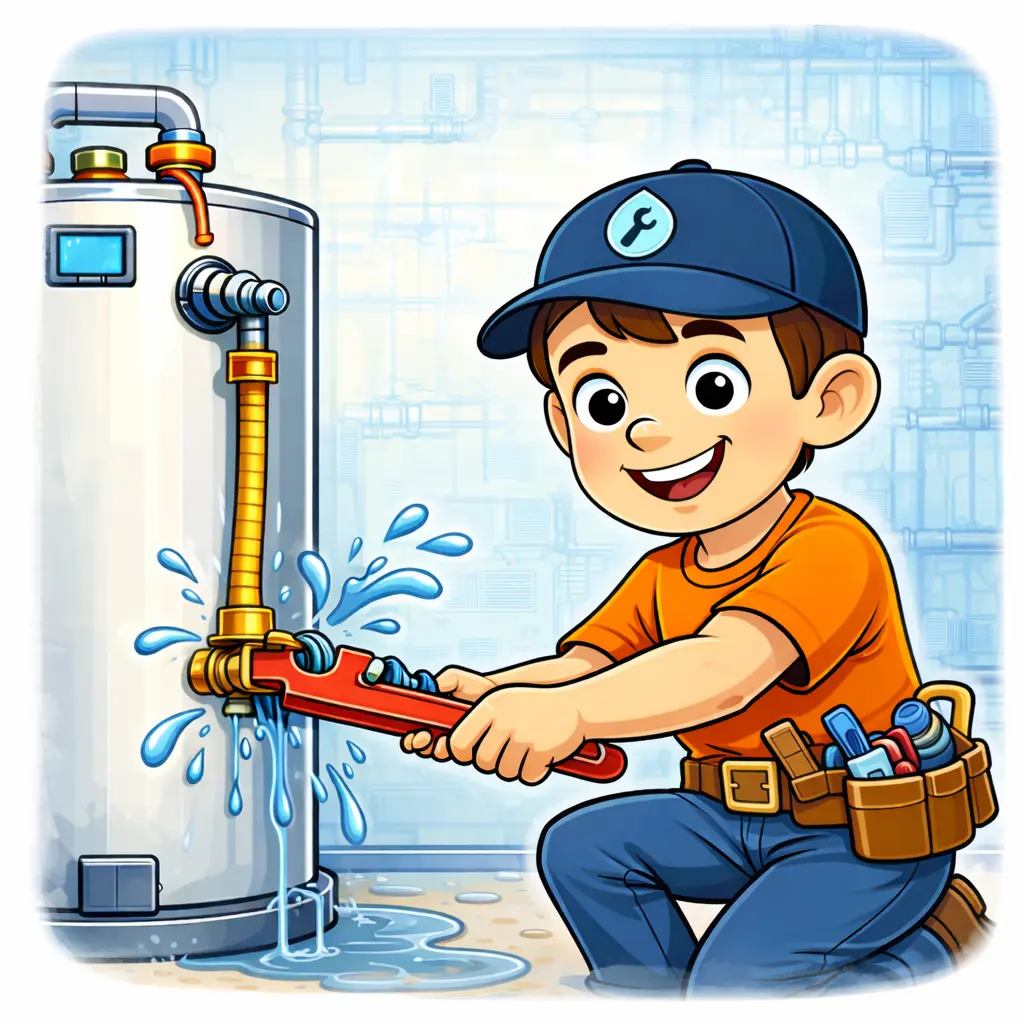
3) Every visible fitting is checked for leaks
- Cold and hot connections
- Drain valve
- T&P valve and discharge
- Gas line connections (if applicable)
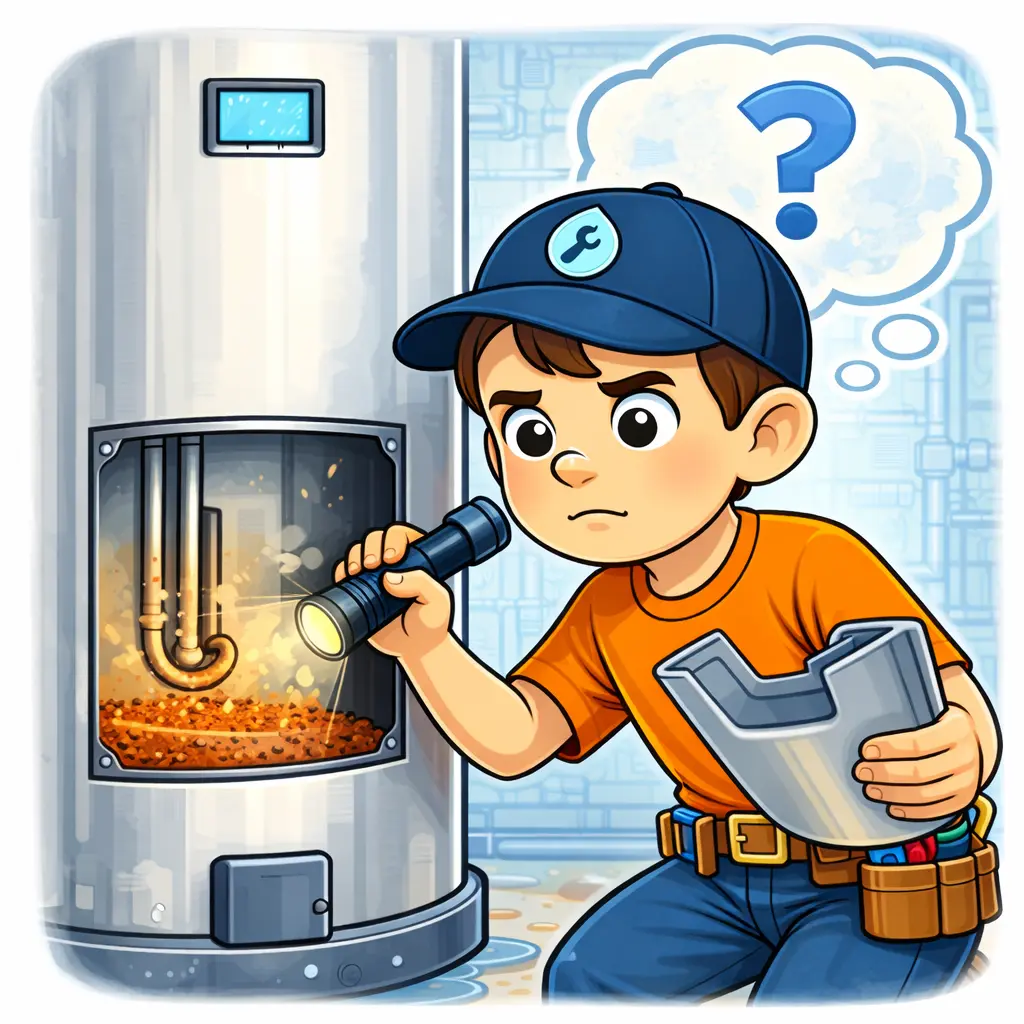
If you’ve had sediment, popping noises, or inconsistent hot water, it may be time for a flush or service: Water Heater Sediment Symptoms.
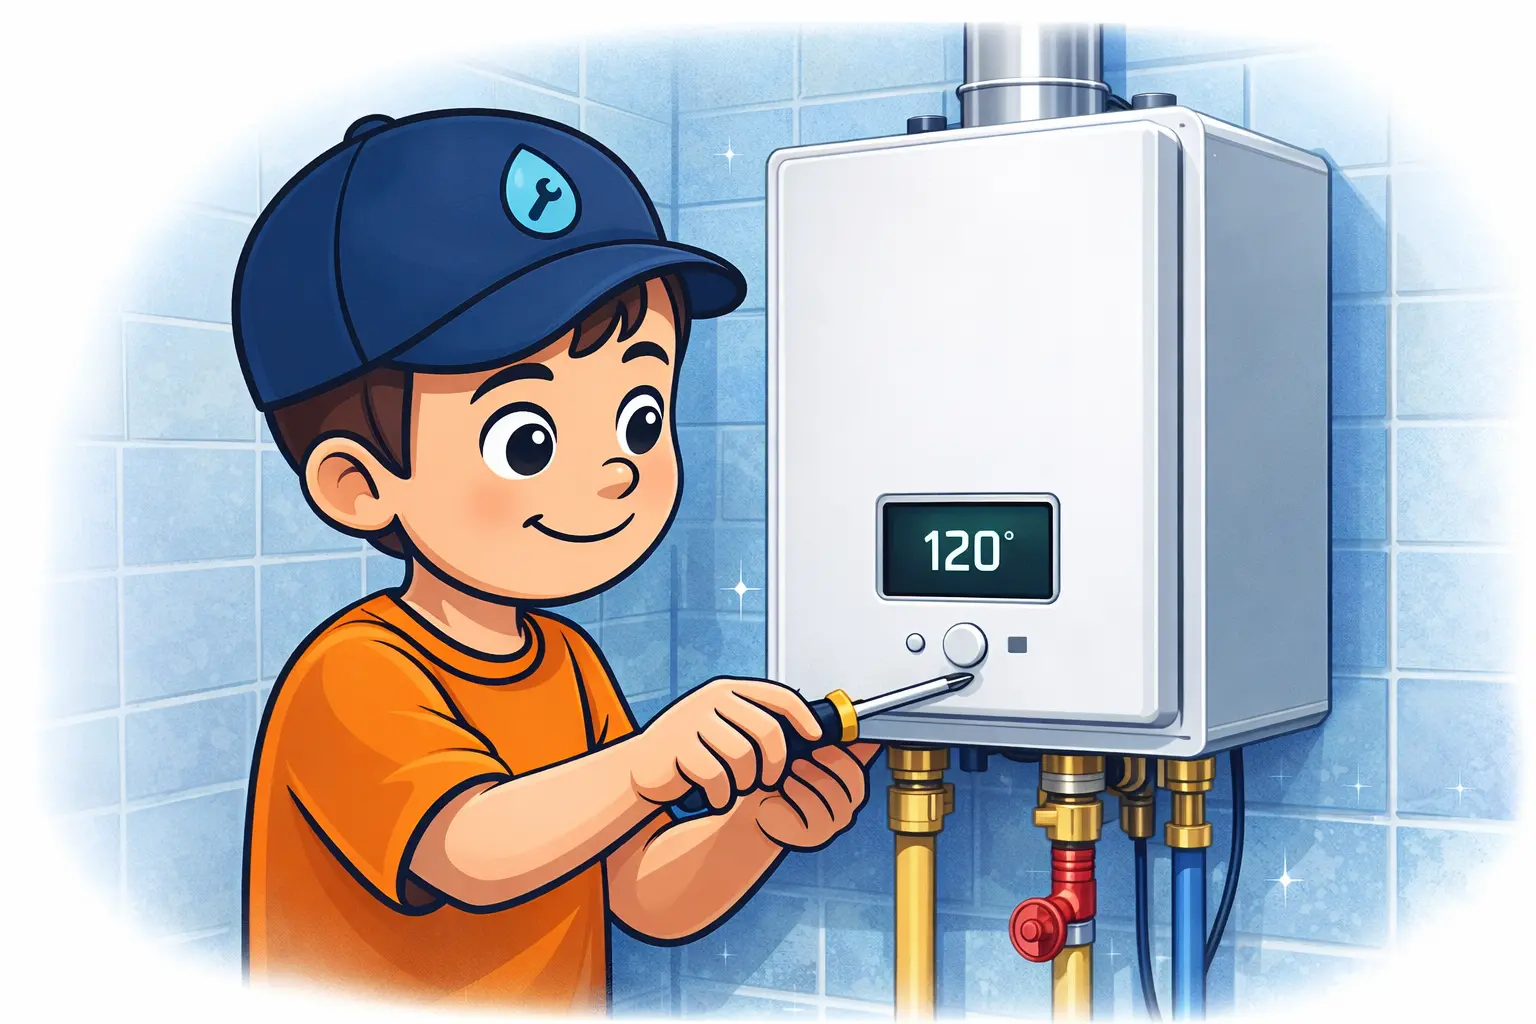
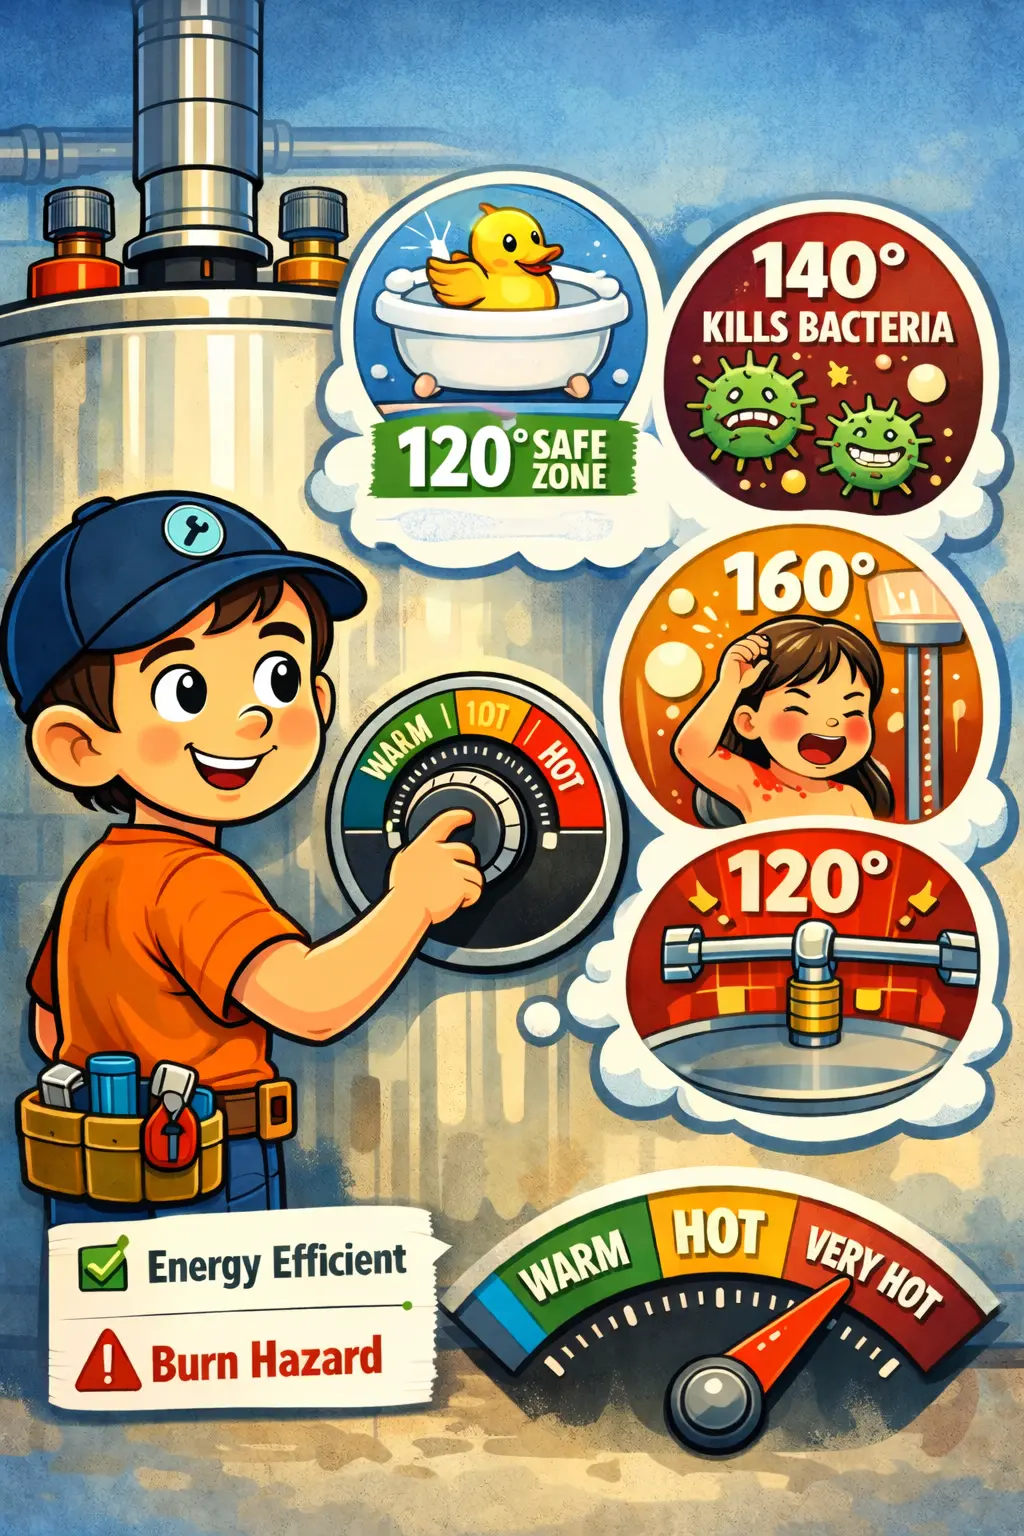
4) Temperature is set and explained
Most homes do well around a safe, comfortable default—then adjust based on household needs. Make sure you know:
- Where the temperature setting is (and what it’s currently set to).
- Where the water shutoff is.
- Where the gas shutoff is (if gas).
For guidance on safe, practical settings, see: Water Heater Temperature Settings.
After Installation
1) You should get a quick walkthrough
- Basic operation and settings
- What noises are normal vs. concerning
- How to shut off water (and gas, if applicable)
- What maintenance to do (and how often)
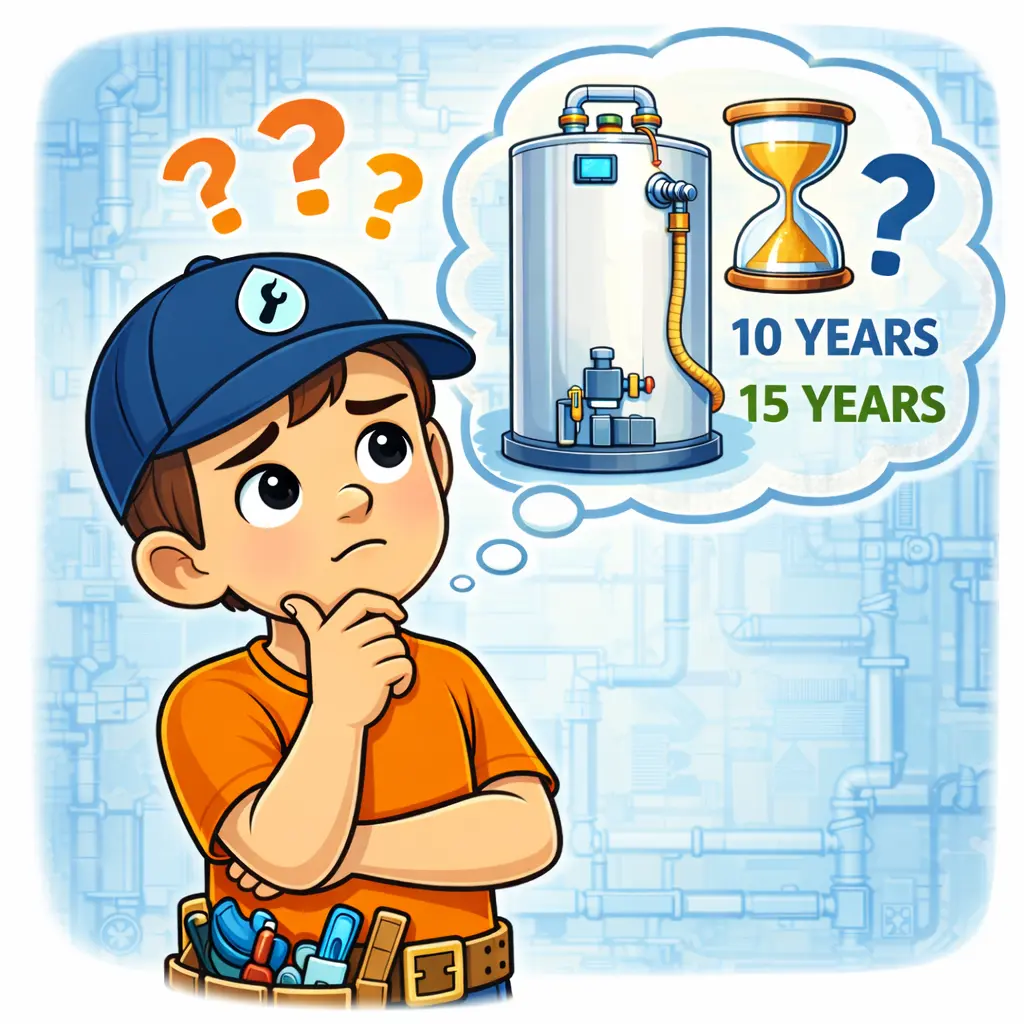
If you’re wondering about lifespan and when replacement makes sense, read: How Long Does a Water Heater Last? and Signs You Need a New Water Heater.
2) The work area should be clean
- Packaging/debris removed
- Old unit hauled away if included
- No standing water left behind
- Clear access to the heater for future service
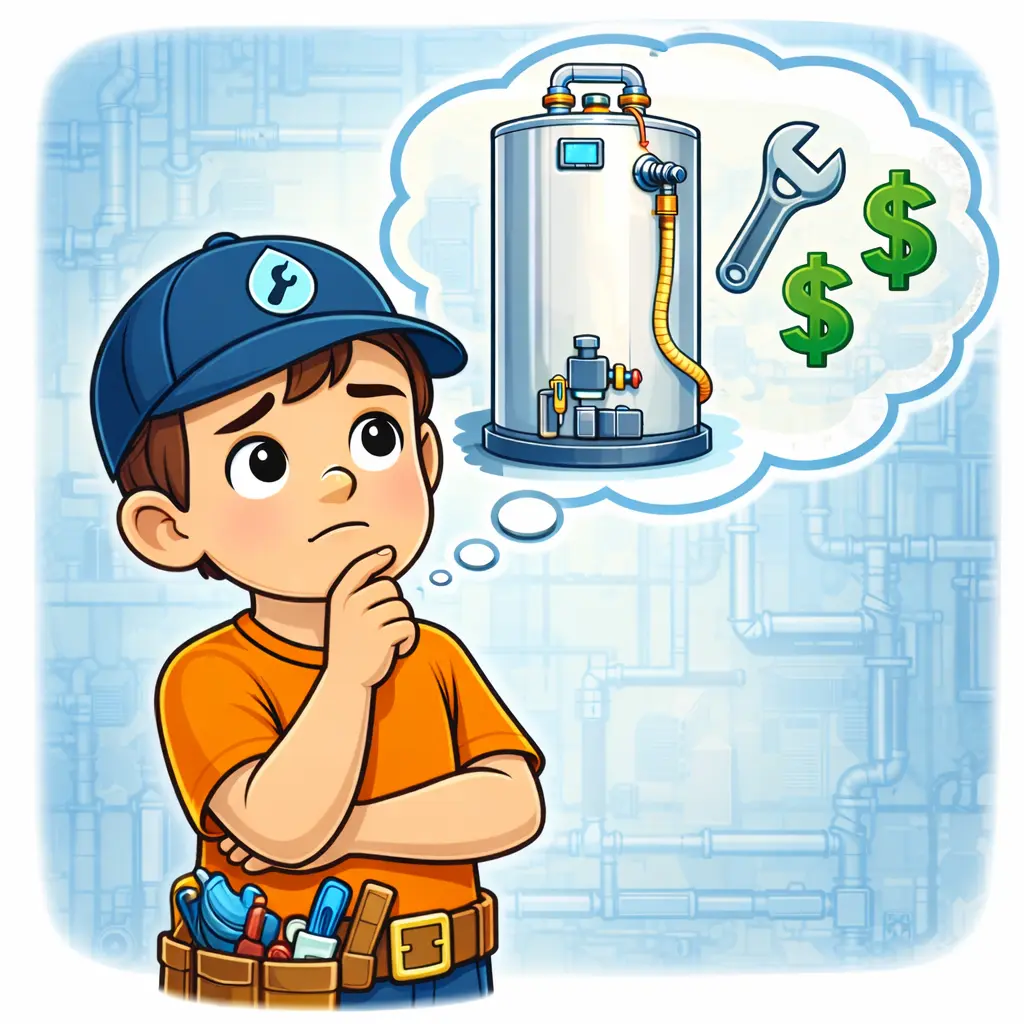
3) You should understand pricing and options
If you’re comparing costs, these pages help: Water Heater Replacement Cost Factors, Water Heater Installation Cost (Clearwater), and Water Heater Installation Cost (Largo). For budget-friendly replacement paths, see: Affordable Water Heater Replacement Options.
Red Flags That Usually Mean a Problem
- “We don’t need to check startup.” Startup verification is part of doing it right.
- Visible leaks or “weeping” fittings at the end of the job.
- Wobbly connections or forced angles that put stress on pipes and fittings.
- Missing drain pan where one is clearly needed to prevent water damage.
- No explanation of shutoffs or basic operation.
- Gas odor or improper venting concerns (treat this as urgent).
If you’re dealing with a sudden leak or no hot water, and you need help fast, start here: What to Do in a Plumbing Emergency. For urgent service options: Emergency Plumbing Near Me and Water Heater Repair Near Me.
FAQ: Water Heater Installation Checklist
Do I need a permit for a water heater installation?
It depends on your location and the type of work being done (especially gas, venting changes, or conversions). If you’re unsure, review: Water Heater Installation Requirements.
What’s the most common reason new installs fail early?
Incorrect sizing, skipped safety components (like expansion tanks when needed), poor venting, and unverified startup checks are some of the biggest contributors.
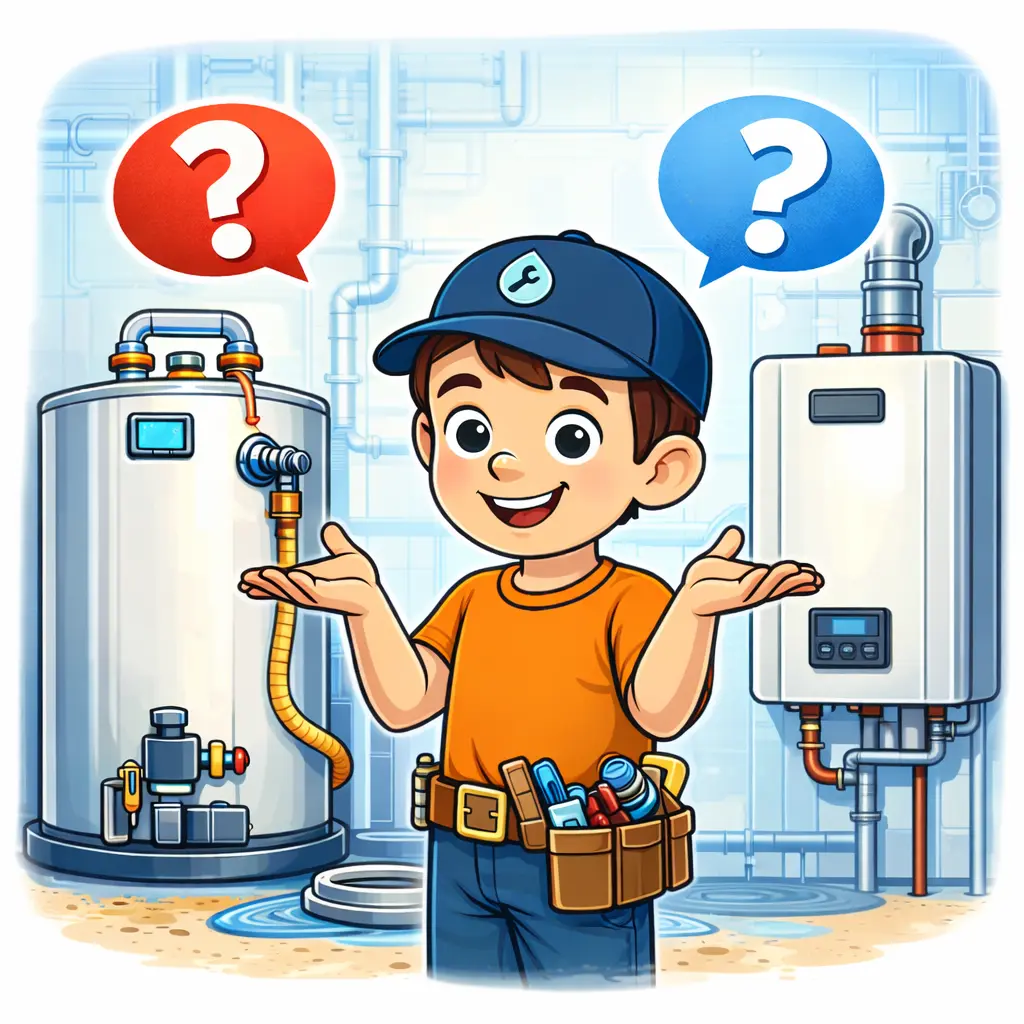
Tank or tankless—what should I choose?
It depends on budget, hot water demand, space, and your home’s gas/electrical setup. Start with: Tank vs Tankless Water Heater.
Related Guides & Internal Links
Water heater installation education
- Water Heater Installation Guide
- Installation Requirements
- Installation Process
- How Long Installation Takes
- Temperature Settings
Sizing, replacement, and cost planning
- Water Heater Sizing Guide
- What Size Water Heater Do I Need?
- Repair vs Replacement
- Replacement Cost Factors
- Affordable Replacement Options
Common problems that lead to installs/replacements
- Water Heater Leaking: What to Do
- Sediment Symptoms
- Signs You Need a New Water Heater
- How Long Does a Water Heater Last?
Service links (local + near me)
- Water Heater Installation Near Me
- Water Heater Installation in Clearwater
- Water Heater Installation in Largo
- Water Heater Installation in Belleair Bluffs
- Water Heater Repair Near Me
- Plumbing Repairs Near Me
- Emergency Plumbing Near Me
- Water Shut-Off Valve Service (Clearwater)
Want a pro to handle the install and verify everything before we wrap up? Visit Water Heater Installation Near Me.