Water Heater Installation Process: What Happens on Install Day (Step-by-Step)
If you’ve never replaced a water heater, install day can feel unclear—especially when you’re trying to compare quotes and make sure the job is done safely. A professional installation isn’t just “hook it up and leave.” The best installs follow a clean process: confirm compatibility, remove the old unit safely, make tidy connections, and verify startup so you don’t discover problems after the installer is gone.
Below is what a typical water heater installation process looks like, from the first assessment to the final walkthrough. (This applies to most tank replacements and gives you a baseline for what “good work” should include.)
A quick overview of install day
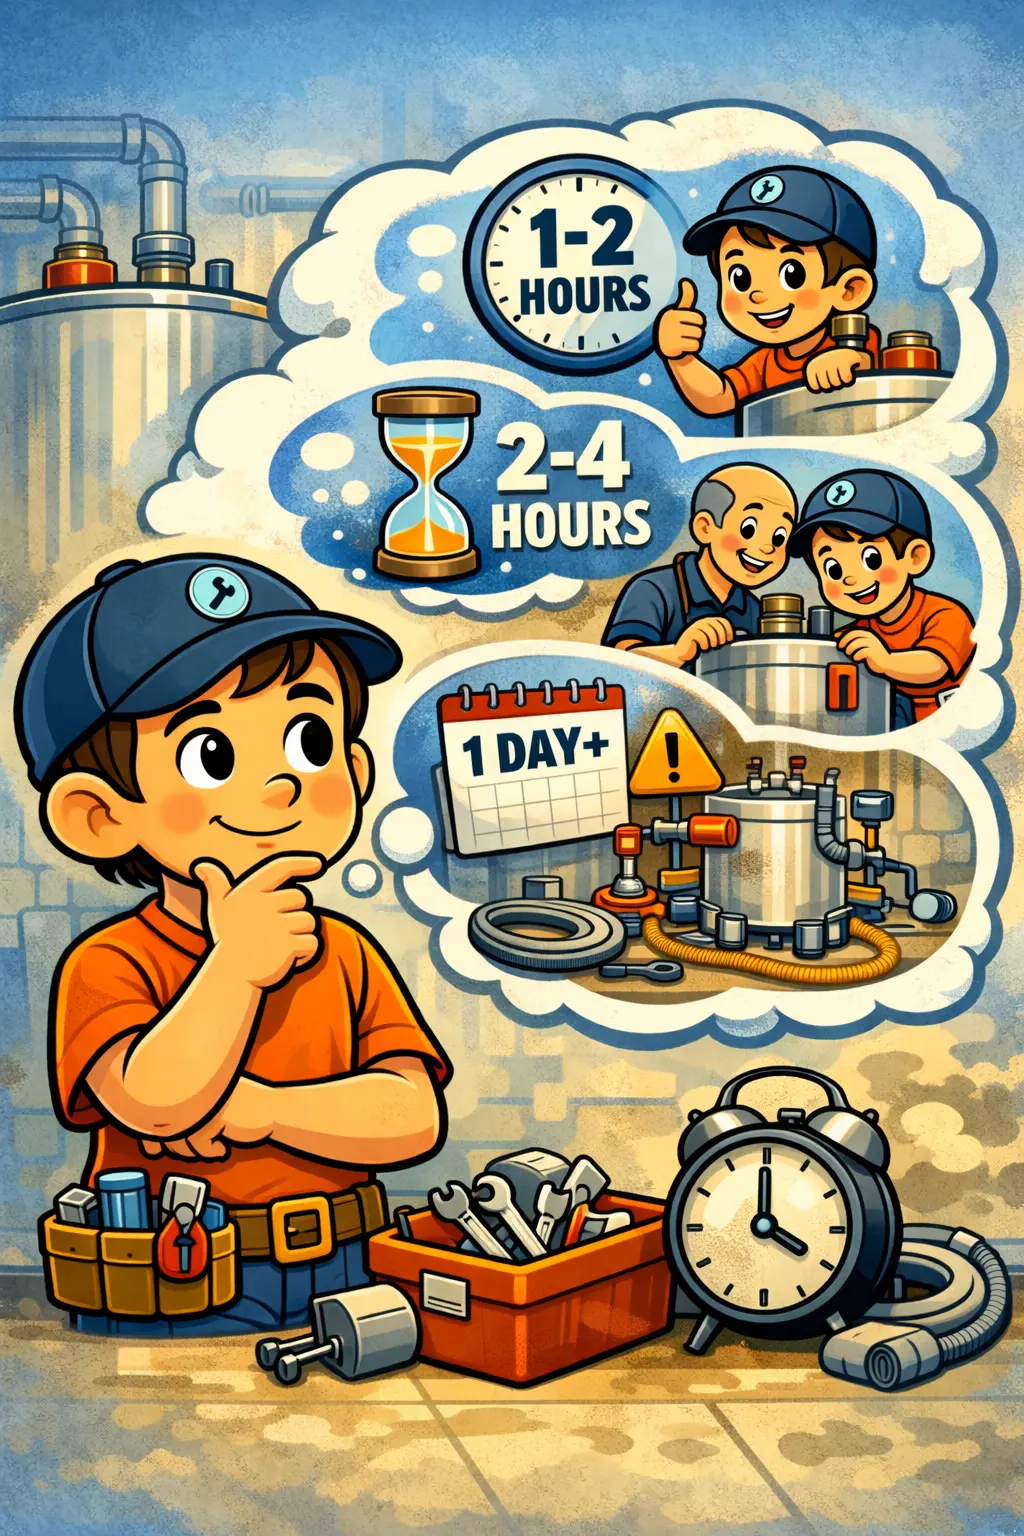
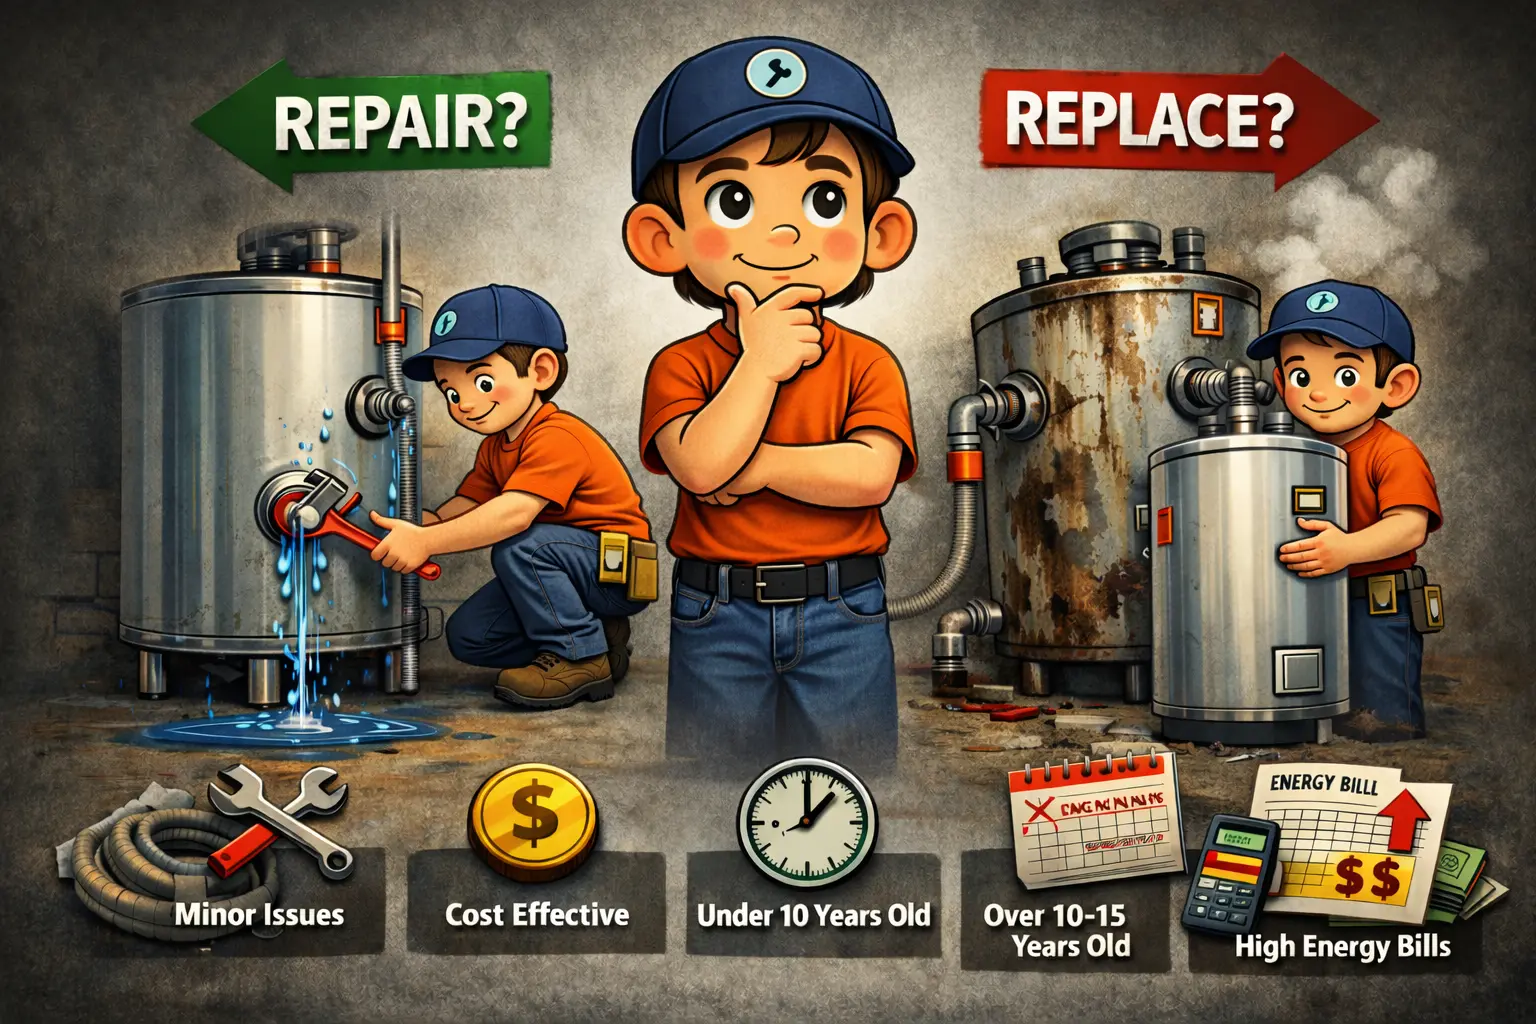
Most standard water heater installations follow the same structure: assessment → removal → install → verification → walkthrough. A simple like-for-like tank swap is usually the most straightforward. Installs can take longer if the heater is in a tight space, if venting or valves need updates, or if you’re changing the type of system (like going tankless).
If you want a detailed list of what a “complete” install should include, use: Water Heater Installation Checklist.
Step 1: Quick assessment
Before any work starts, a professional installer confirms the basics. This isn’t busywork—this is where many surprise issues are caught early.
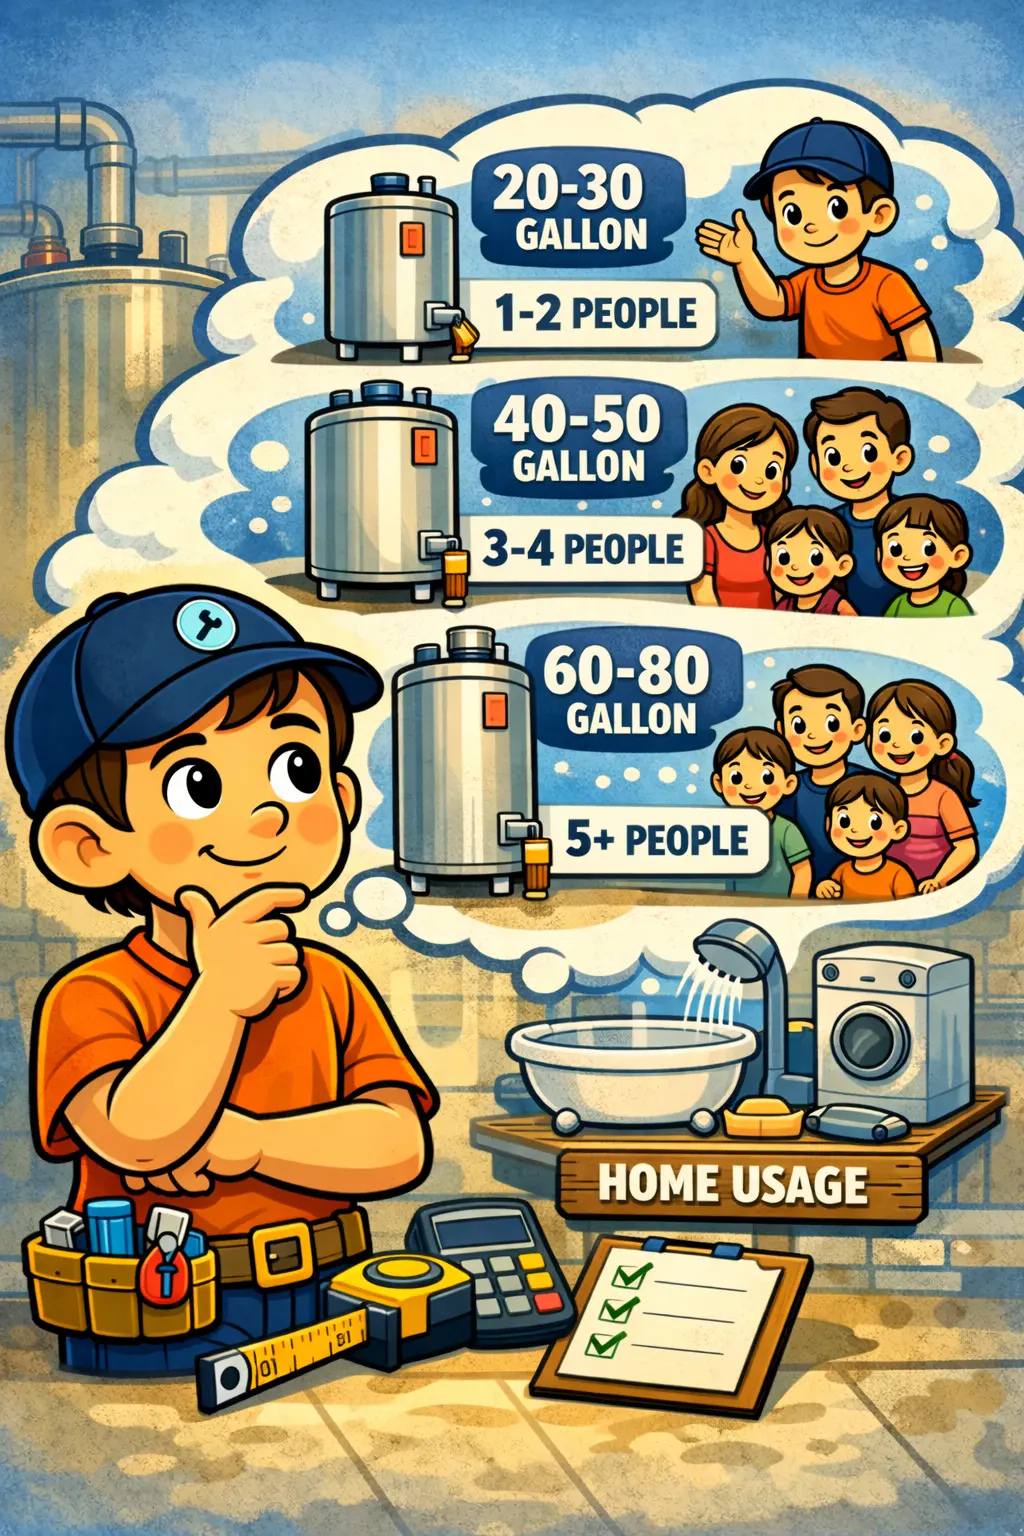
What’s typically confirmed
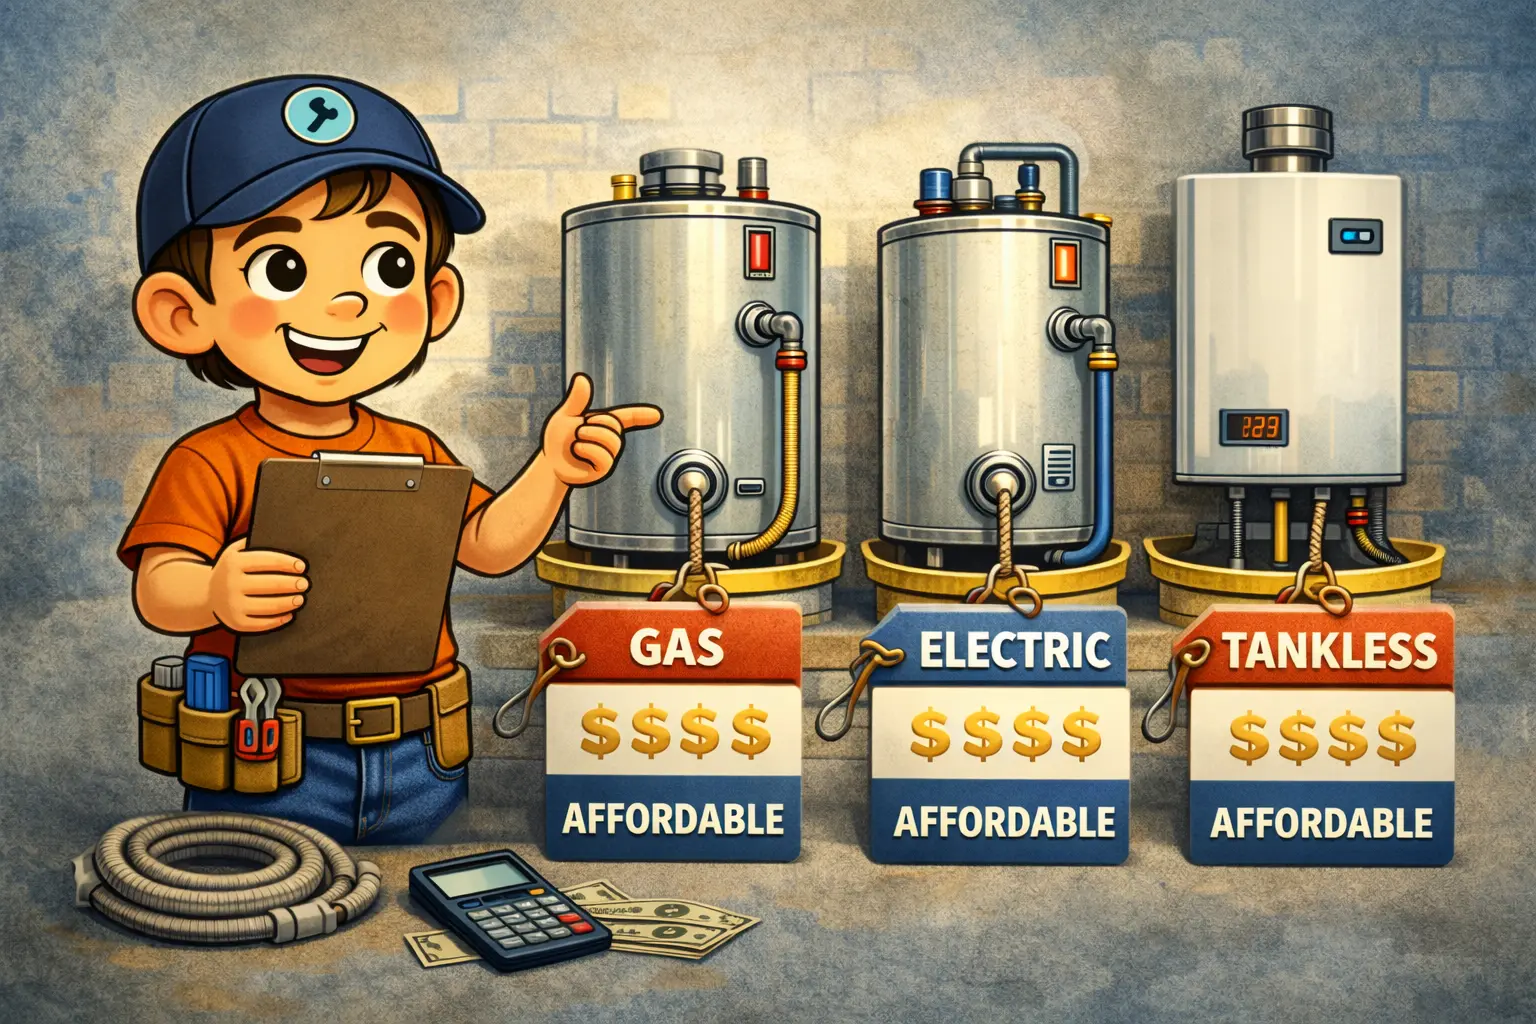
- Fuel type: gas vs electric (and whether the replacement matches)
- Size/capacity: the right fit for your household (not a guess)
- Location and access: closet, garage, attic, tight clearance, drainage strategy
- Safety and requirements: venting condition (gas), shutoff valve condition, discharge routing
- Plan for updates: any items that should be addressed for a safe, reliable install
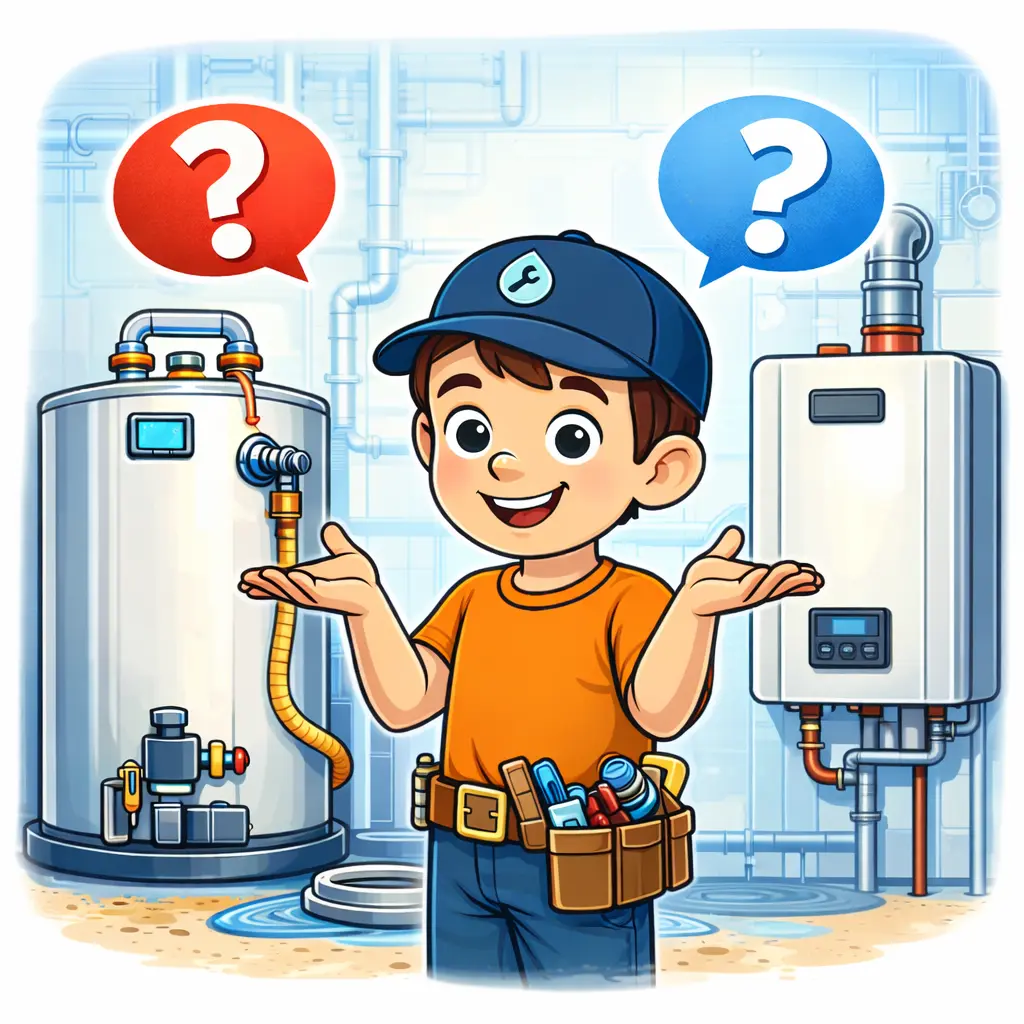
If you want to understand what requirements can affect installation, read: Water Heater Installation Requirements. If you’re still deciding tank vs tankless, compare options here: Tank vs Tankless Water Heater.
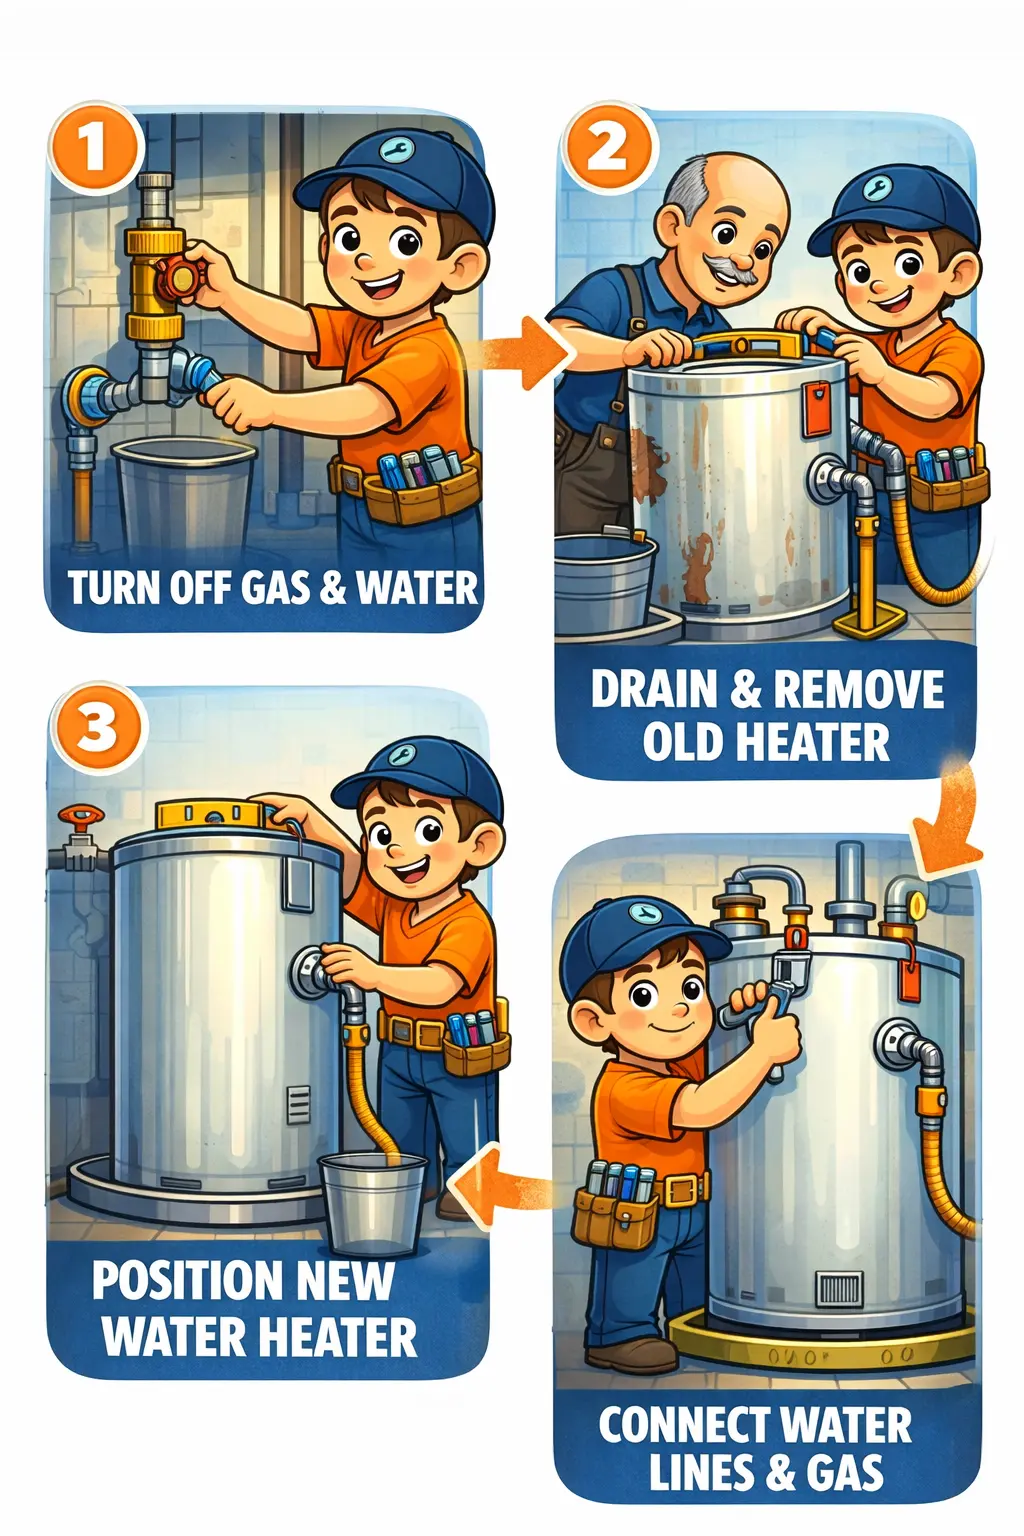
Step 2: Safe shutdown + removal
Removal should be clean, controlled, and safe. The installer shuts down the system properly, disconnects the old unit, and protects the work area to prevent damage.
What clean removal includes
- Shutting off water supply and safely powering down gas/electric
- Disconnecting lines carefully (not yanking or forcing connections)
- Removing the old unit without damaging walls, floors, or surrounding plumbing
- Keeping the area protected and clean during the process
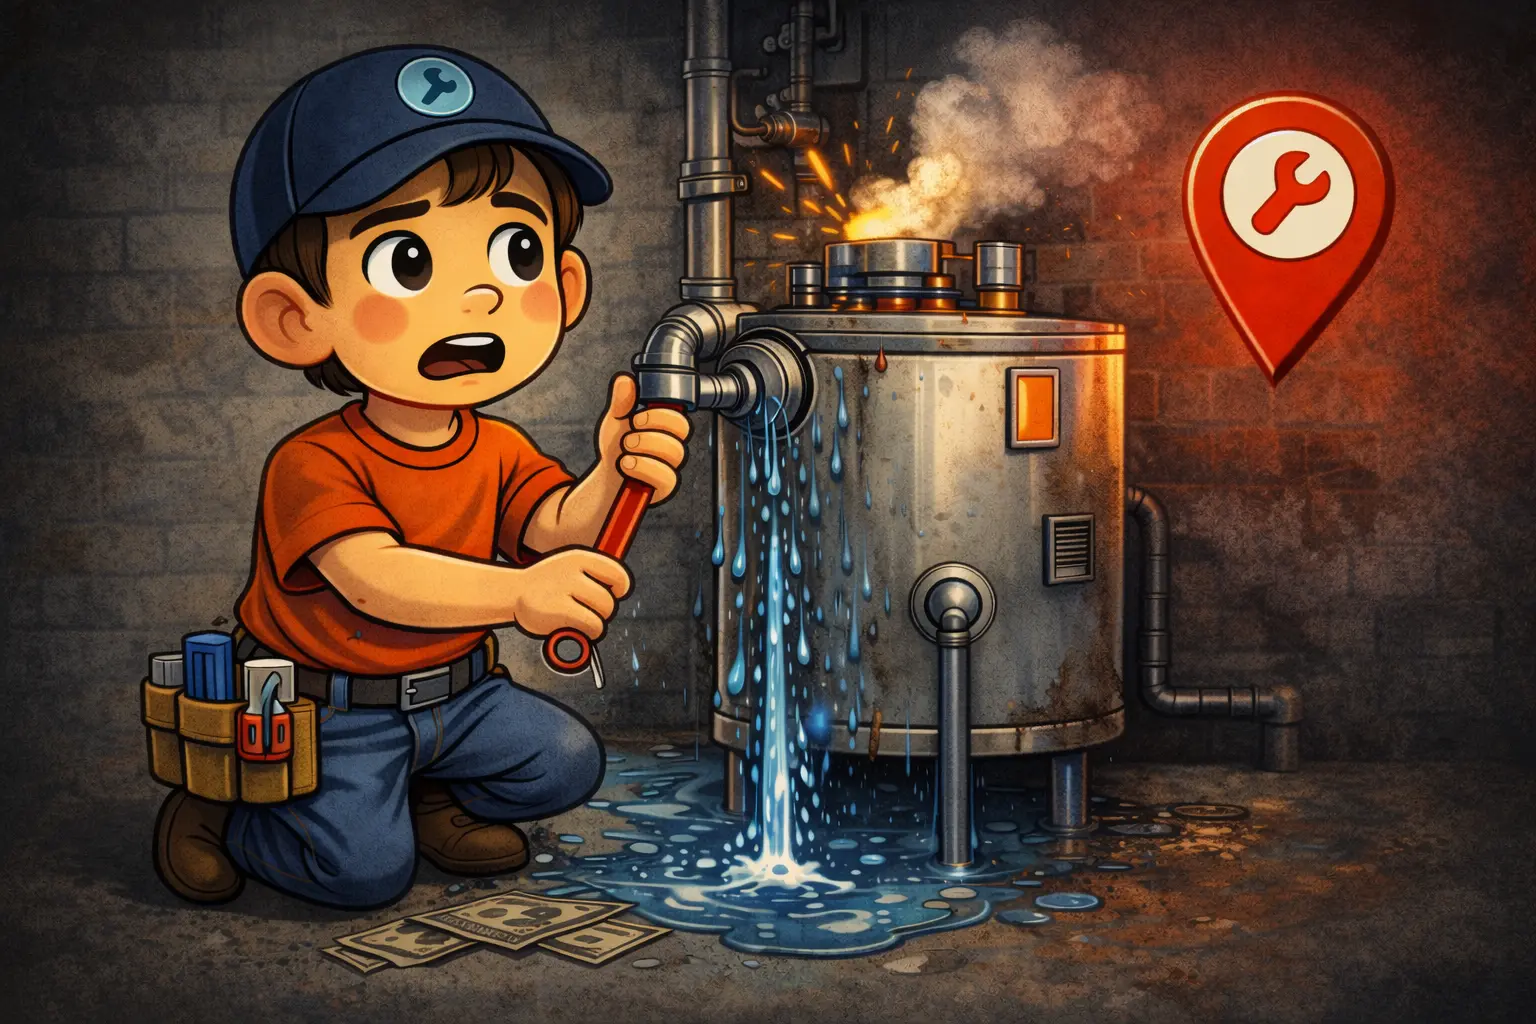
If you’re replacing because your unit leaked, this guide helps you understand the urgency steps: Water Heater Leaking: What to Do.
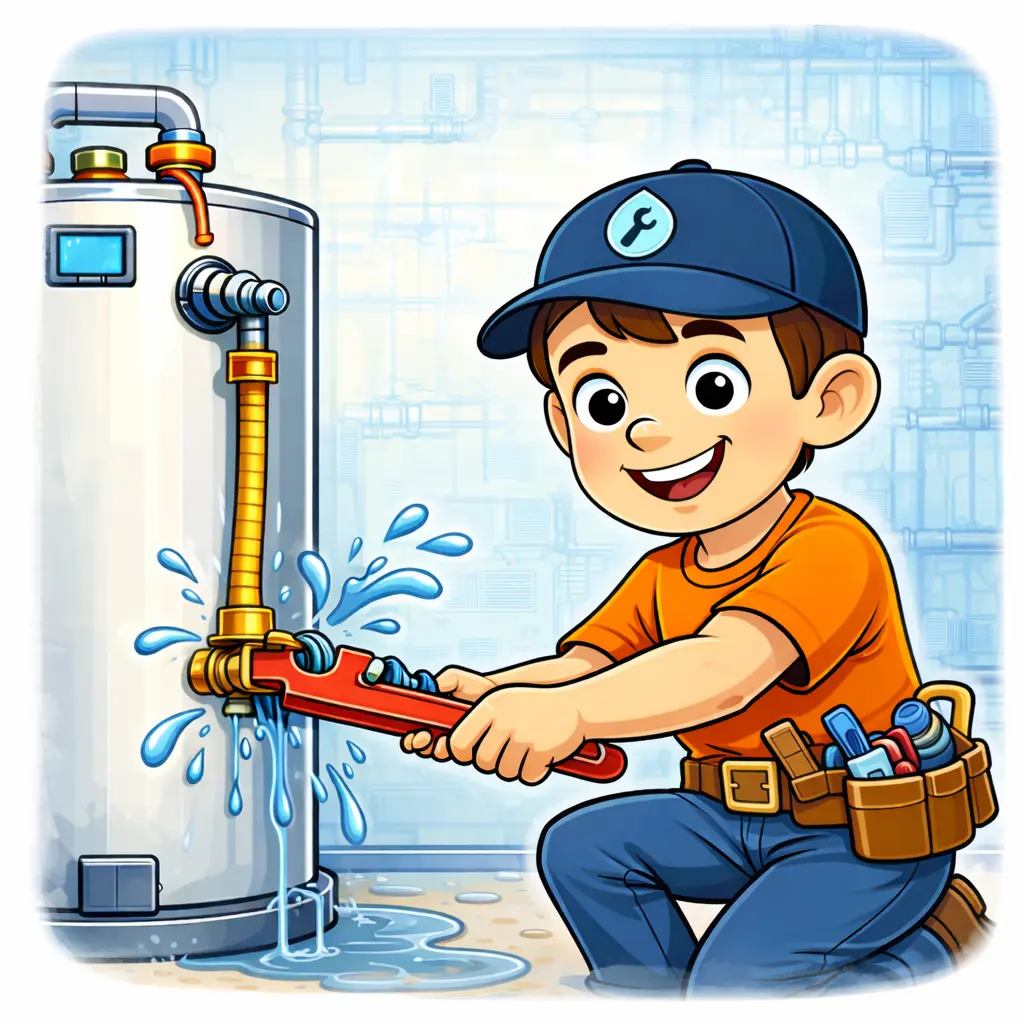
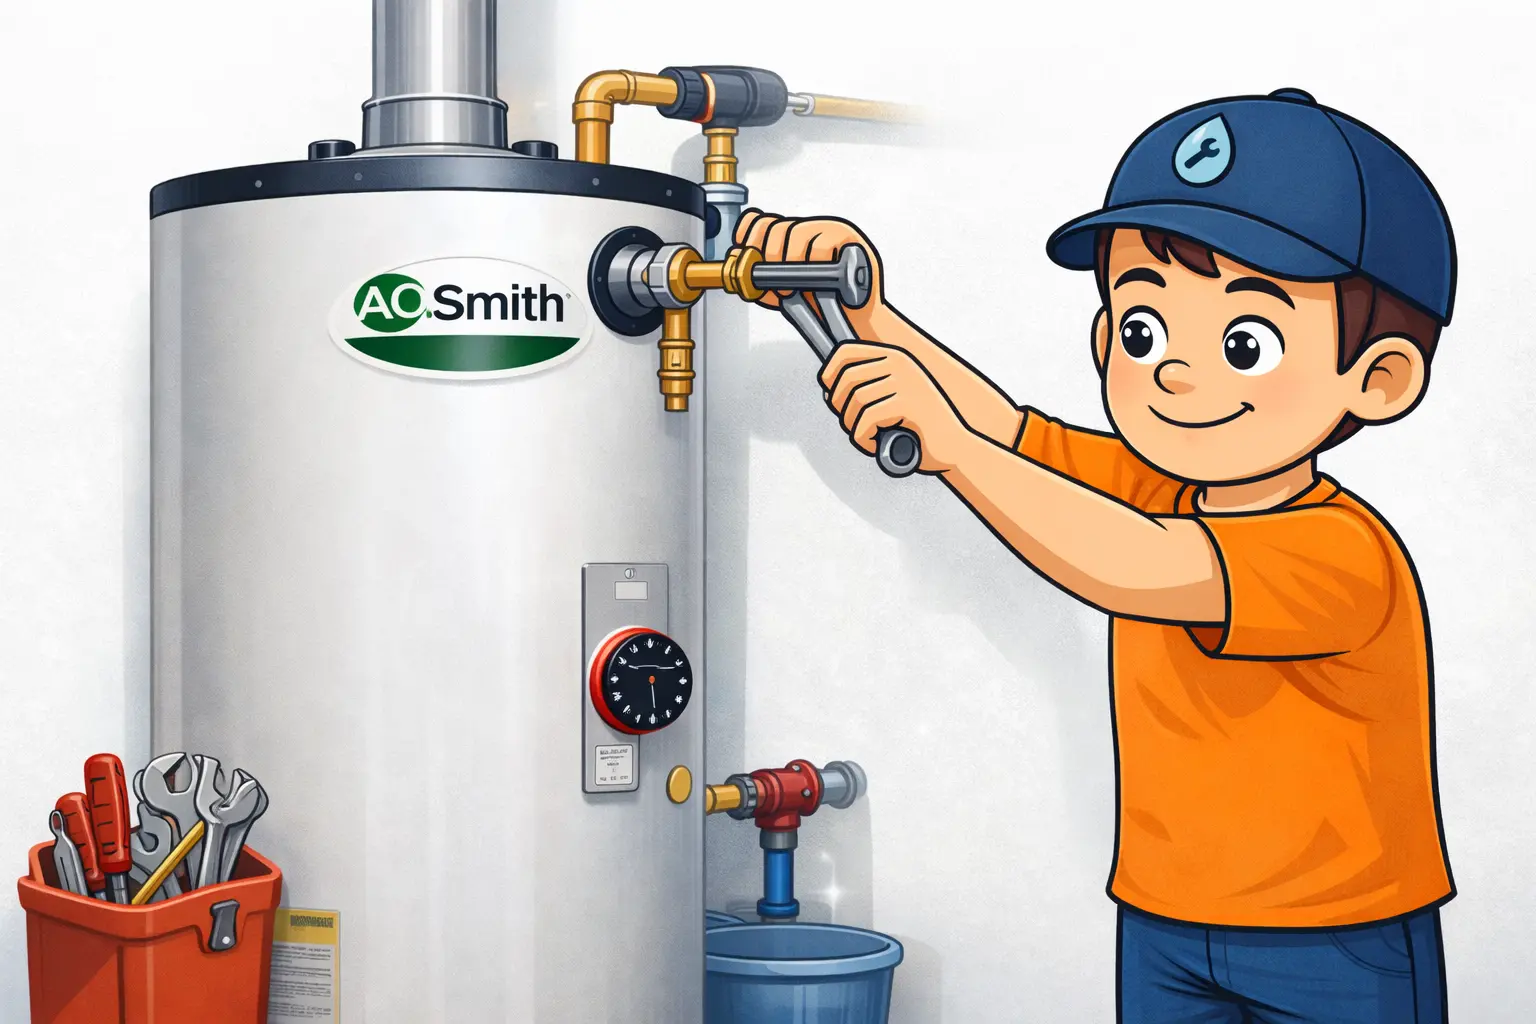
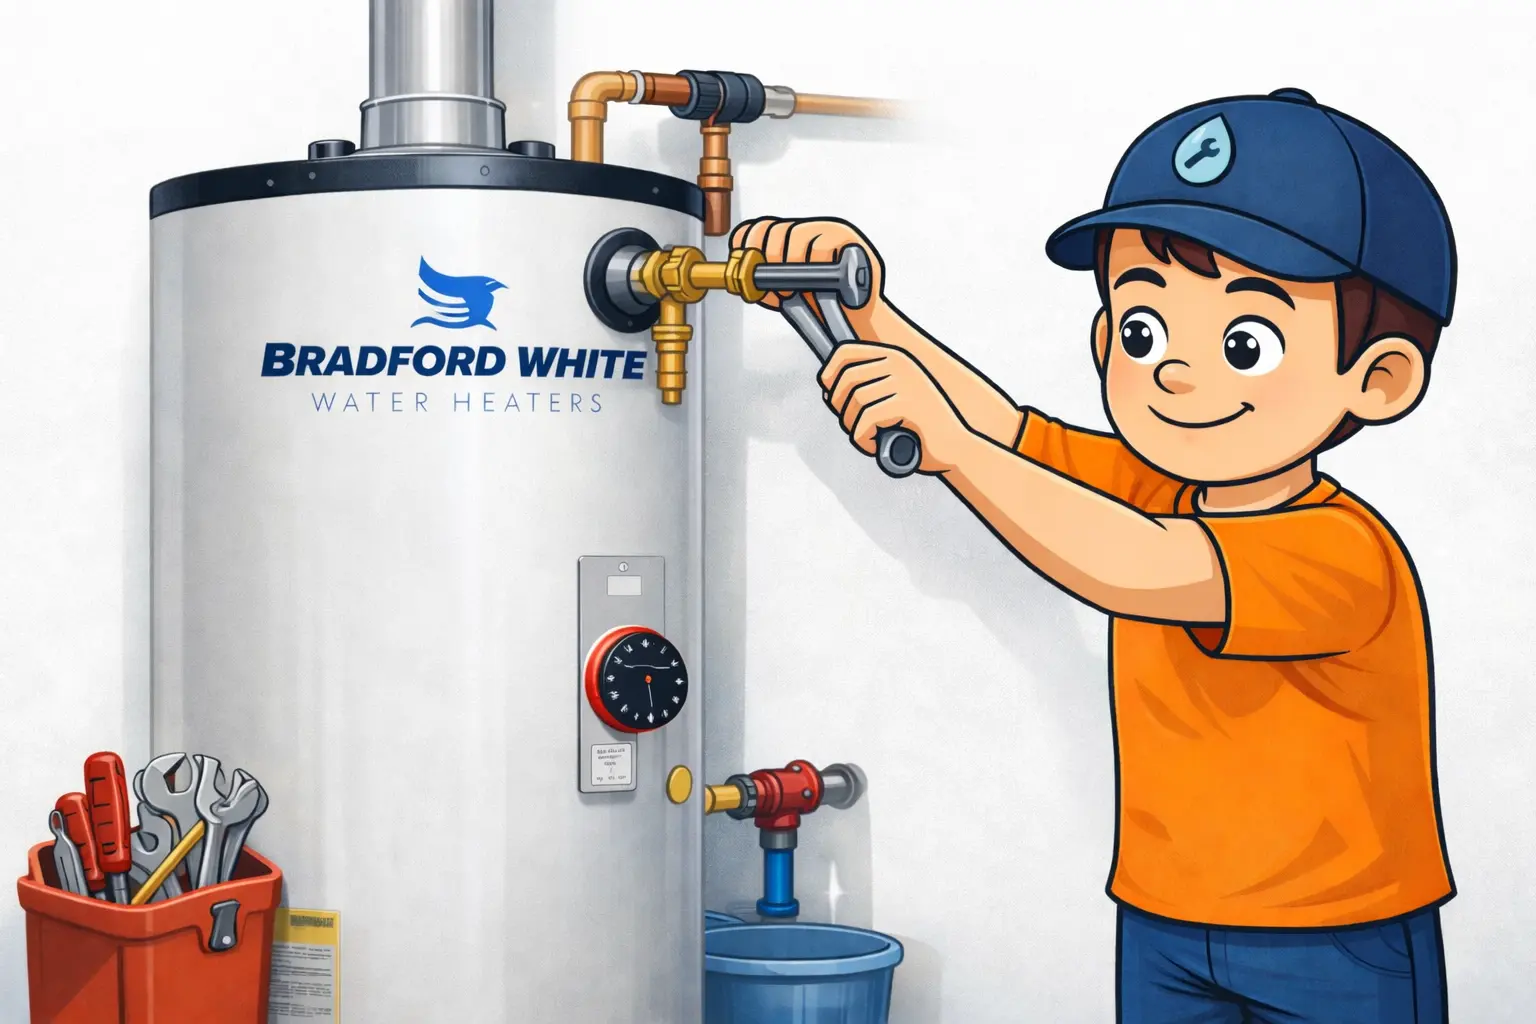
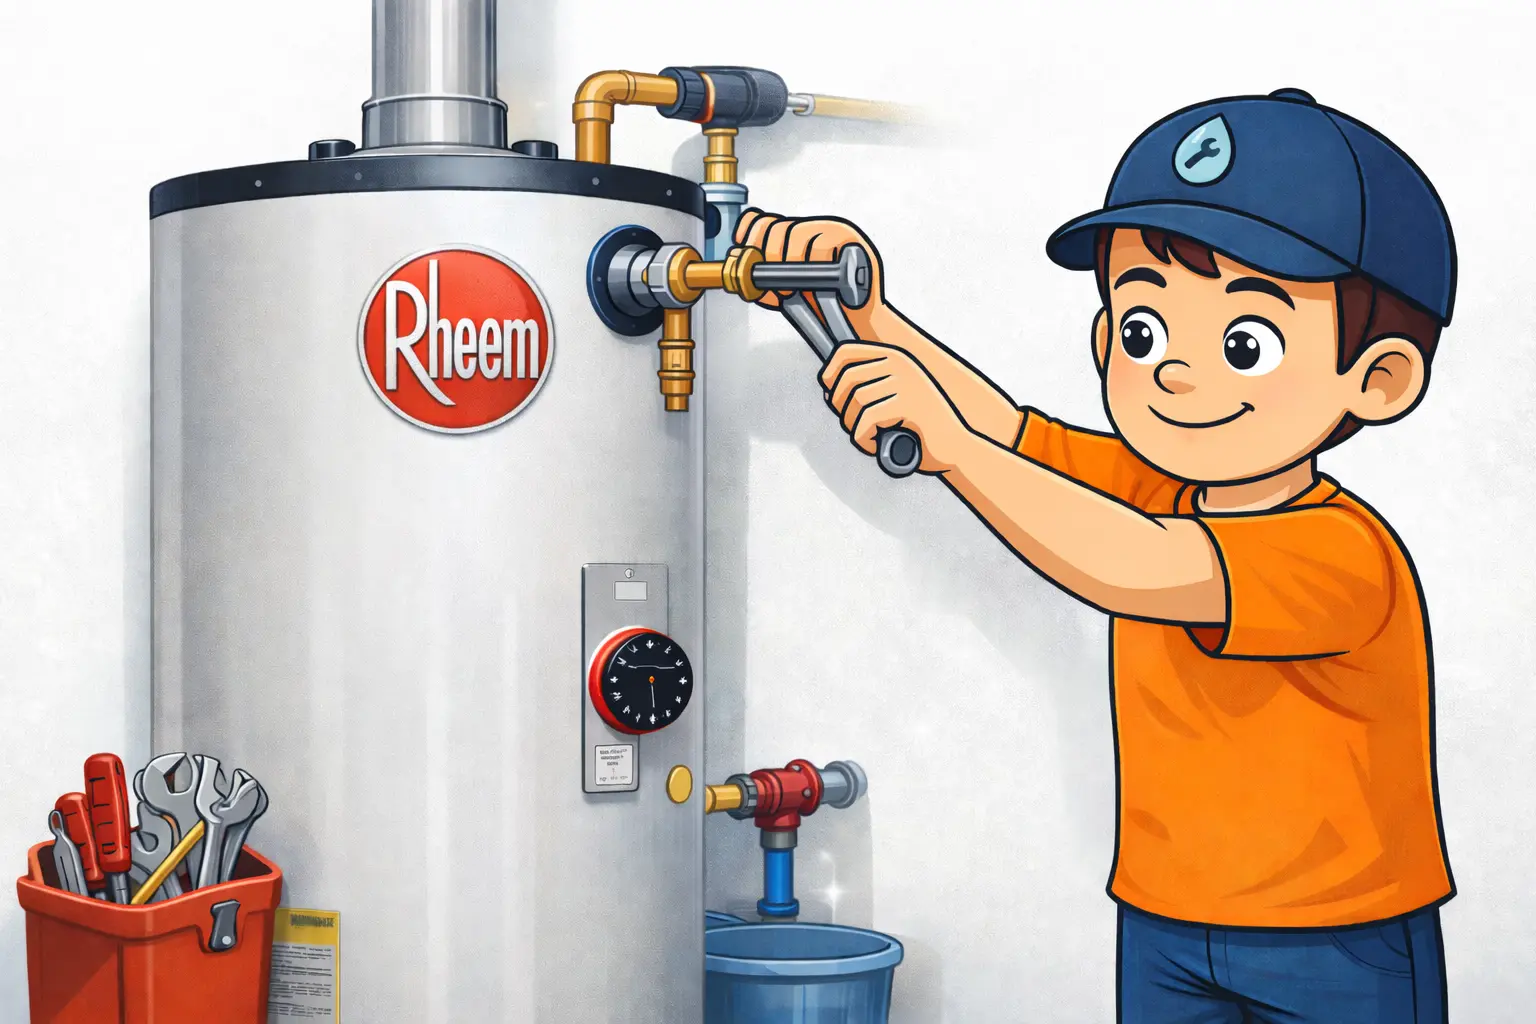
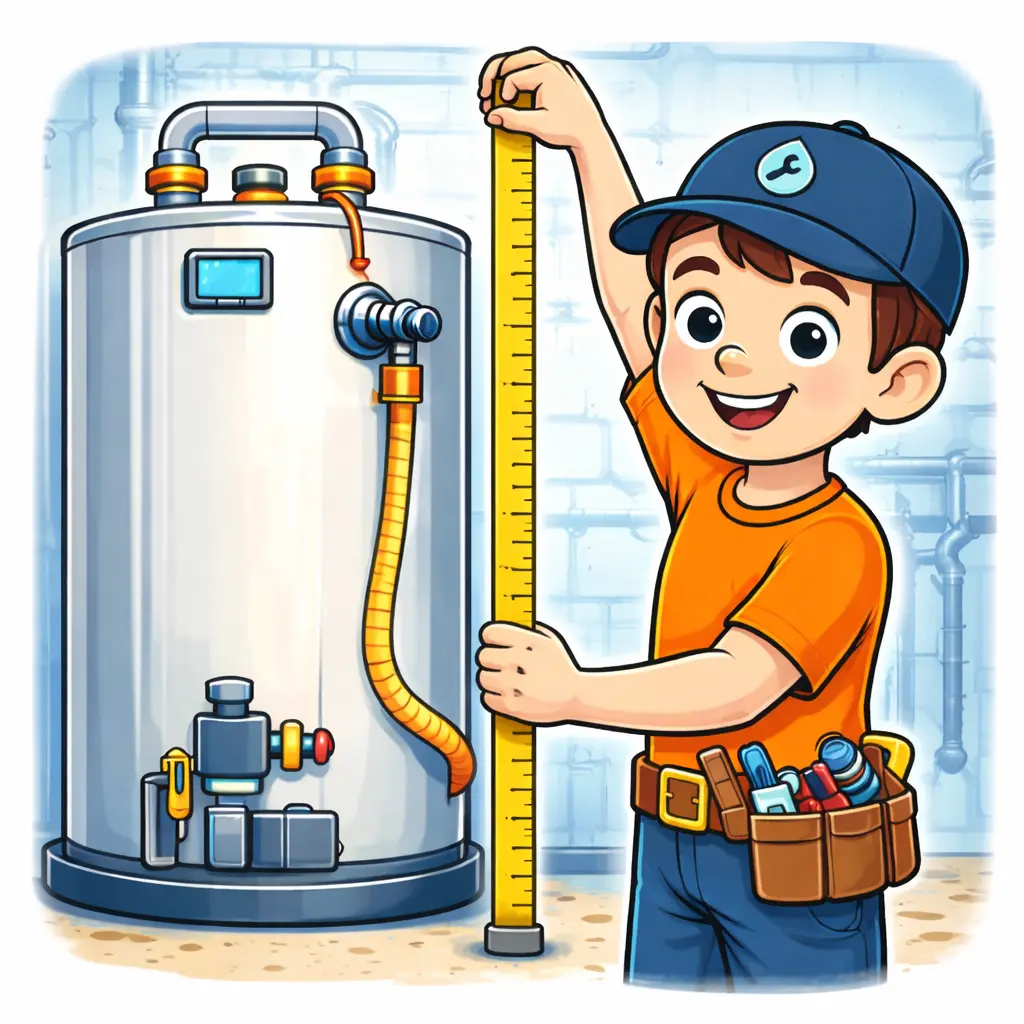
Step 3: New unit placement and connections
Once the old heater is removed, the new unit is set in place and connected. This is where workmanship matters: connections should look tidy, supported, and secure—no “forced” angles or wobbly lines.
What good connections should look like
- Stable placement: unit is level, secure, and properly positioned
- Tidy lines: supply lines and connections are cleanly routed
- Secure fittings: no stress on joints, no loose connections
- Venting checked (gas): properly connected and confirmed safe
- Drain/discharge considerations: routing is intentional and protects the home
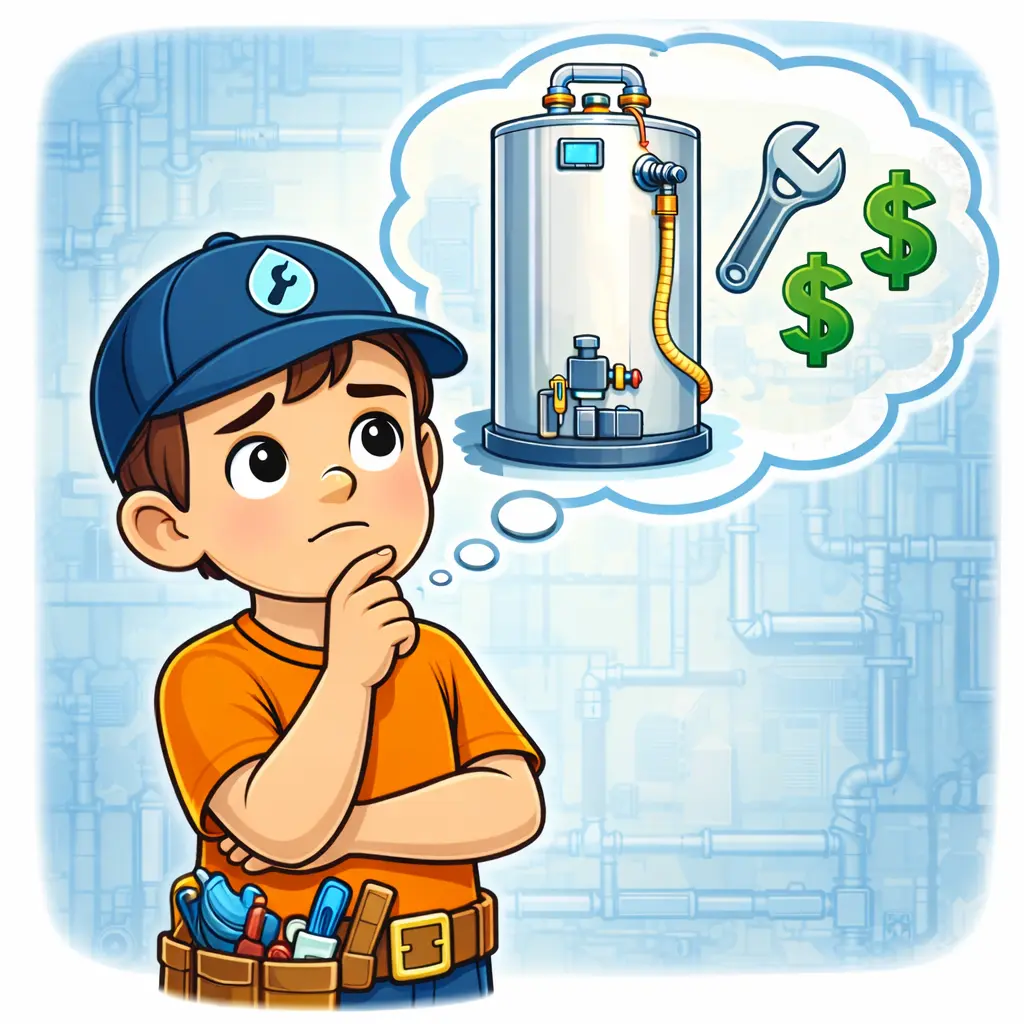
If you’re worried about cost changes from install requirements or upgrades, this breakdown helps: Water Heater Replacement Cost Factors.
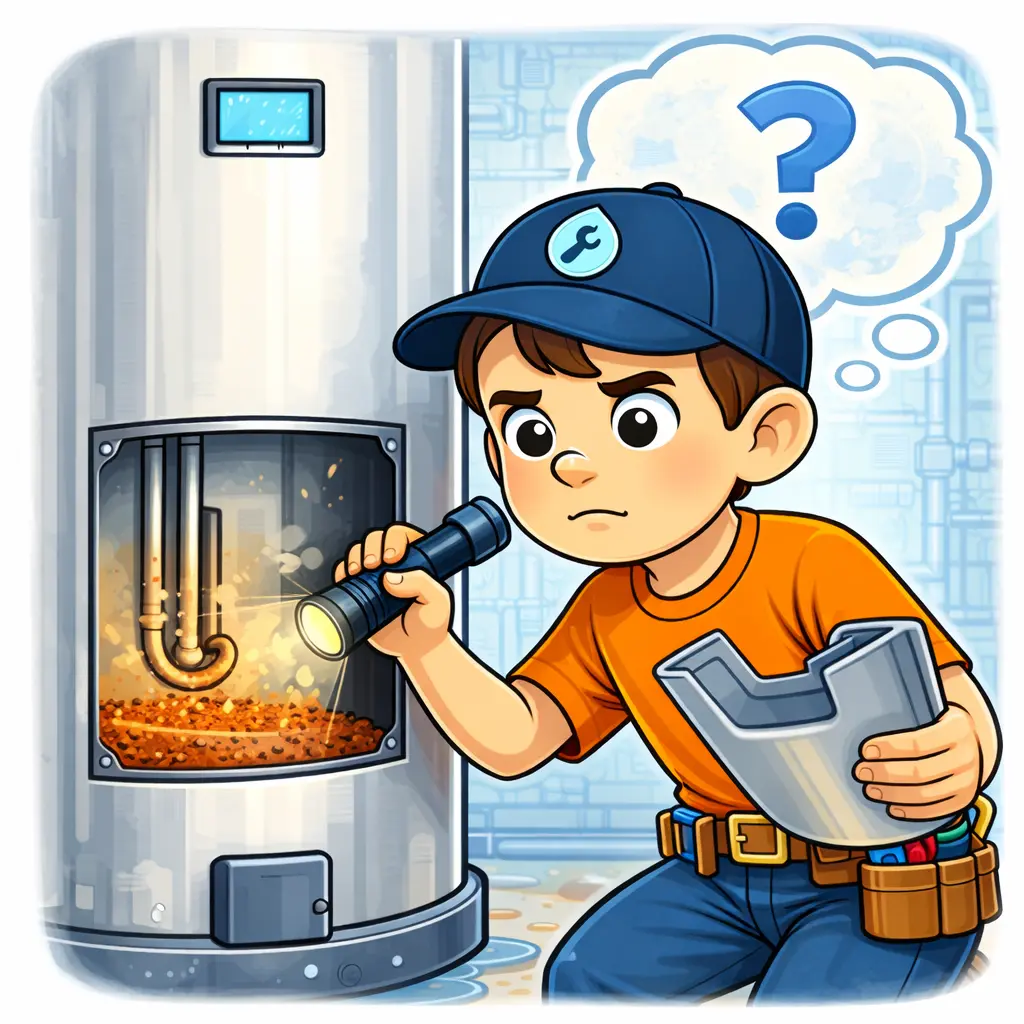
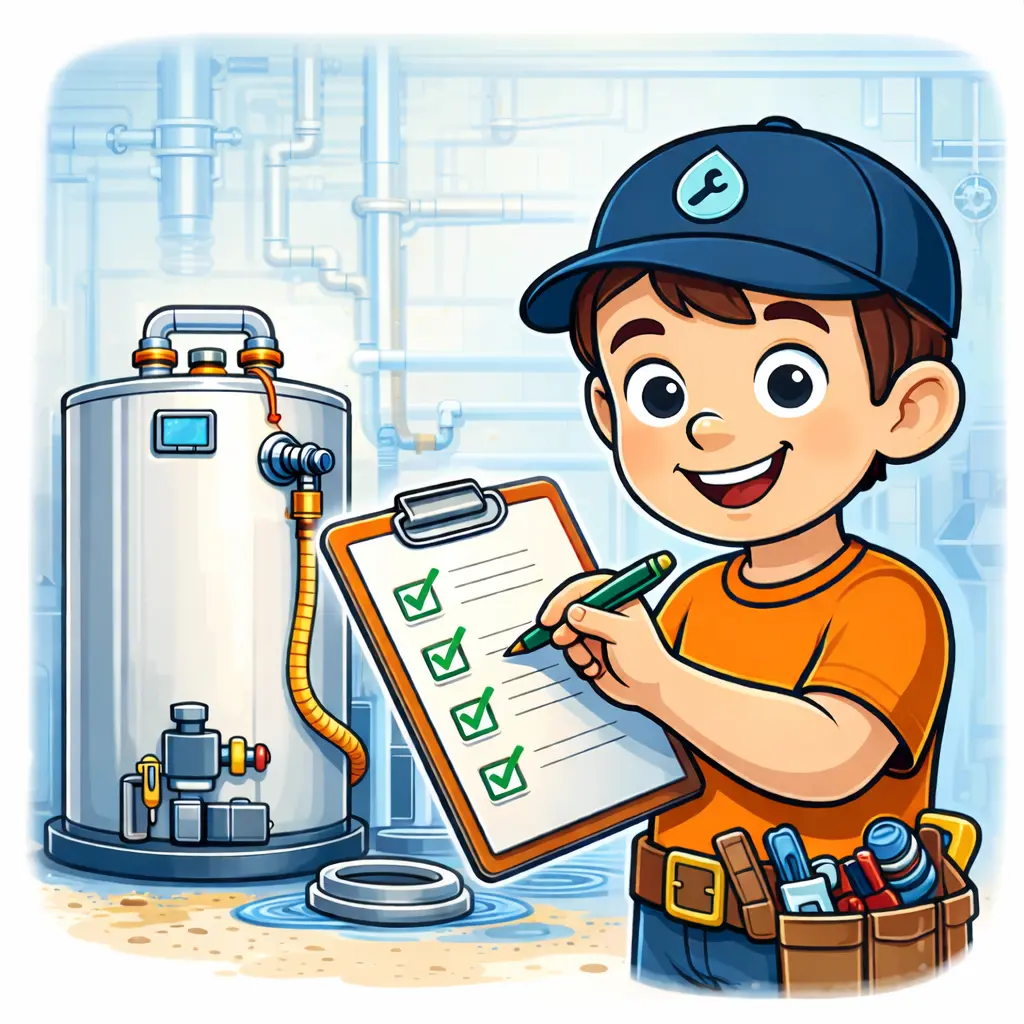
Step 4: Startup verification (the important part)
Startup verification is the part many homeowners never see—yet it’s one of the most important steps. This is where you confirm the heater is operating correctly, producing hot water, and not leaking. A professional doesn’t just say “it turned on.” They verify performance.
What should be verified before the installer leaves
- Heating is confirmed (hot water is actually produced)
- All visible fittings are checked for leaks
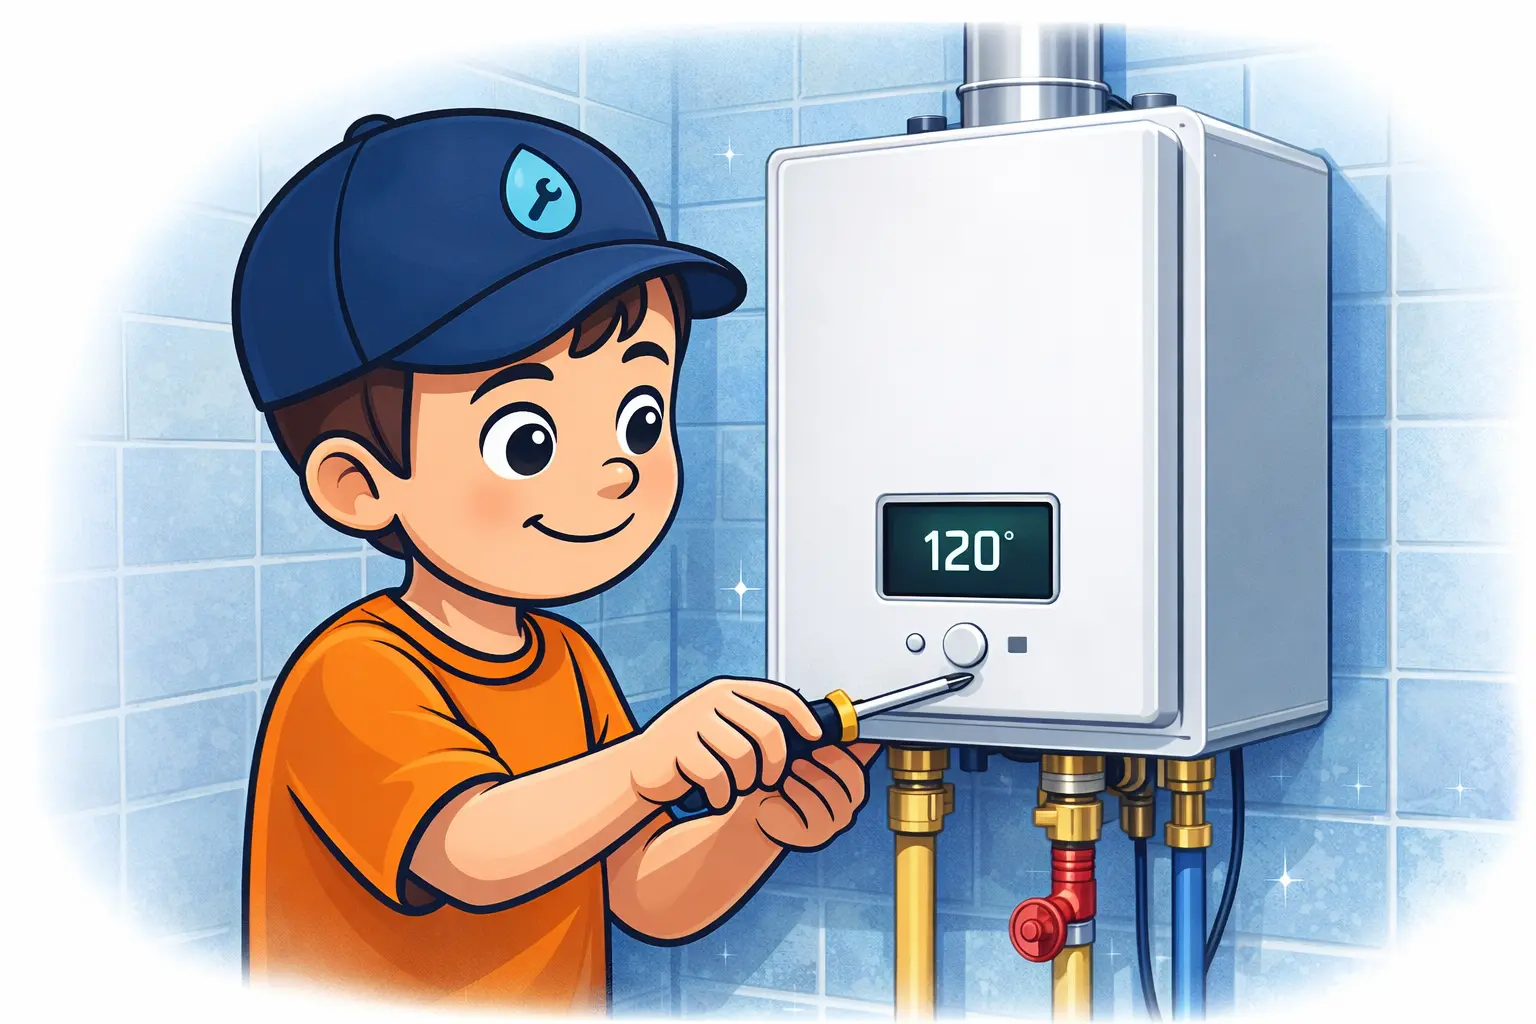
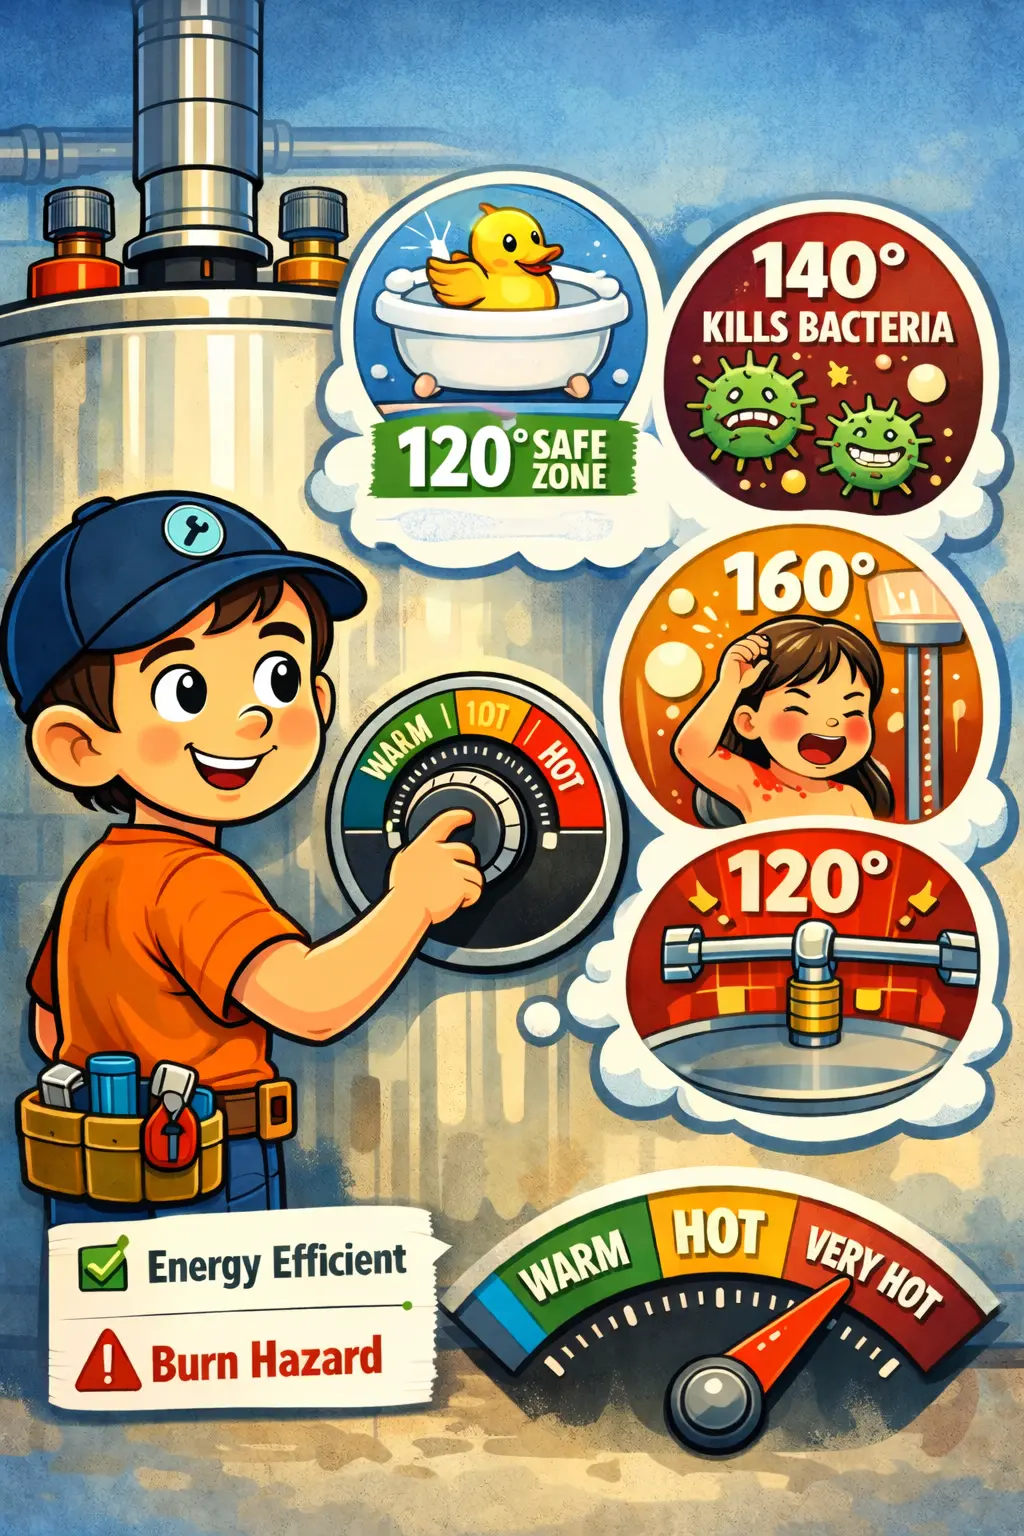
- Temperature is set and reviewed (and you understand the setting)
- Basic safety items are reviewed (and you know where the shutoff is)
For a full verified-finish checklist, use: Installation Checklist. For safe temperature guidance, read: Water Heater Temperature Settings.
Step 5: Walkthrough + what to watch for
A professional installation ends with a quick walkthrough so you leave with confidence—not questions. This doesn’t take long, but it makes a big difference.
What a good walkthrough includes
- Where the shutoff valve is and how to use it
- How to identify early warning signs (moisture, unusual noise)
- Basic maintenance expectations and what “normal” looks like
- What to do if anything feels off after the install
If you want to know how long installs usually take and what affects timeline, see: How Long Does Water Heater Installation Take?
What to ask your installer before they leave
If you want a simple checklist for homeowner peace of mind, ask these before the job is considered complete:
- “Can you confirm you checked for leaks at all visible fittings?”
- “Did you verify heating (hot water output), not just power-on?”
- “What temperature did you set it to, and why?”
- “Where is the shutoff, and what should I do if I ever see moisture?”
- “What basic maintenance should I plan for?”
If you want the full “install day checklist” format, use: Water Heater Installation Checklist.