Water Heater Installation Requirements: What Affects a Safe, Code-Ready Install
Some water heater installs are simple “like-for-like” swaps. Others need a few updates to keep everything safe, reliable, and running correctly. The difference usually comes down to fuel type, venting, connection condition, and how the heater is installed in the space.
This guide explains the most common water heater installation requirements that affect an install, what upgrades may be needed, and how to avoid surprise issues after the work is done.
Simple swap vs more involved installs
A “simple swap” is when you replace a tank water heater with another tank unit of similar size using the same fuel type, in an accessible location, with connections and safety components already in good shape. These installs tend to be faster and more predictable.
Installs become more involved when the existing setup needs updates (valves, venting, drain pan, discharge routing), when access is tight (closets, attics), or when you’re upgrading to a different type of heater (especially tankless). If you want a clear expectation of what quality work looks like, use: Water Heater Installation Checklist.
Common water heater installation requirements (what can affect installation)
The goal isn’t to “add extras.” It’s to make sure the install is safe, clean, and reliable—so you don’t get leaks, performance issues, or avoidable problems later.
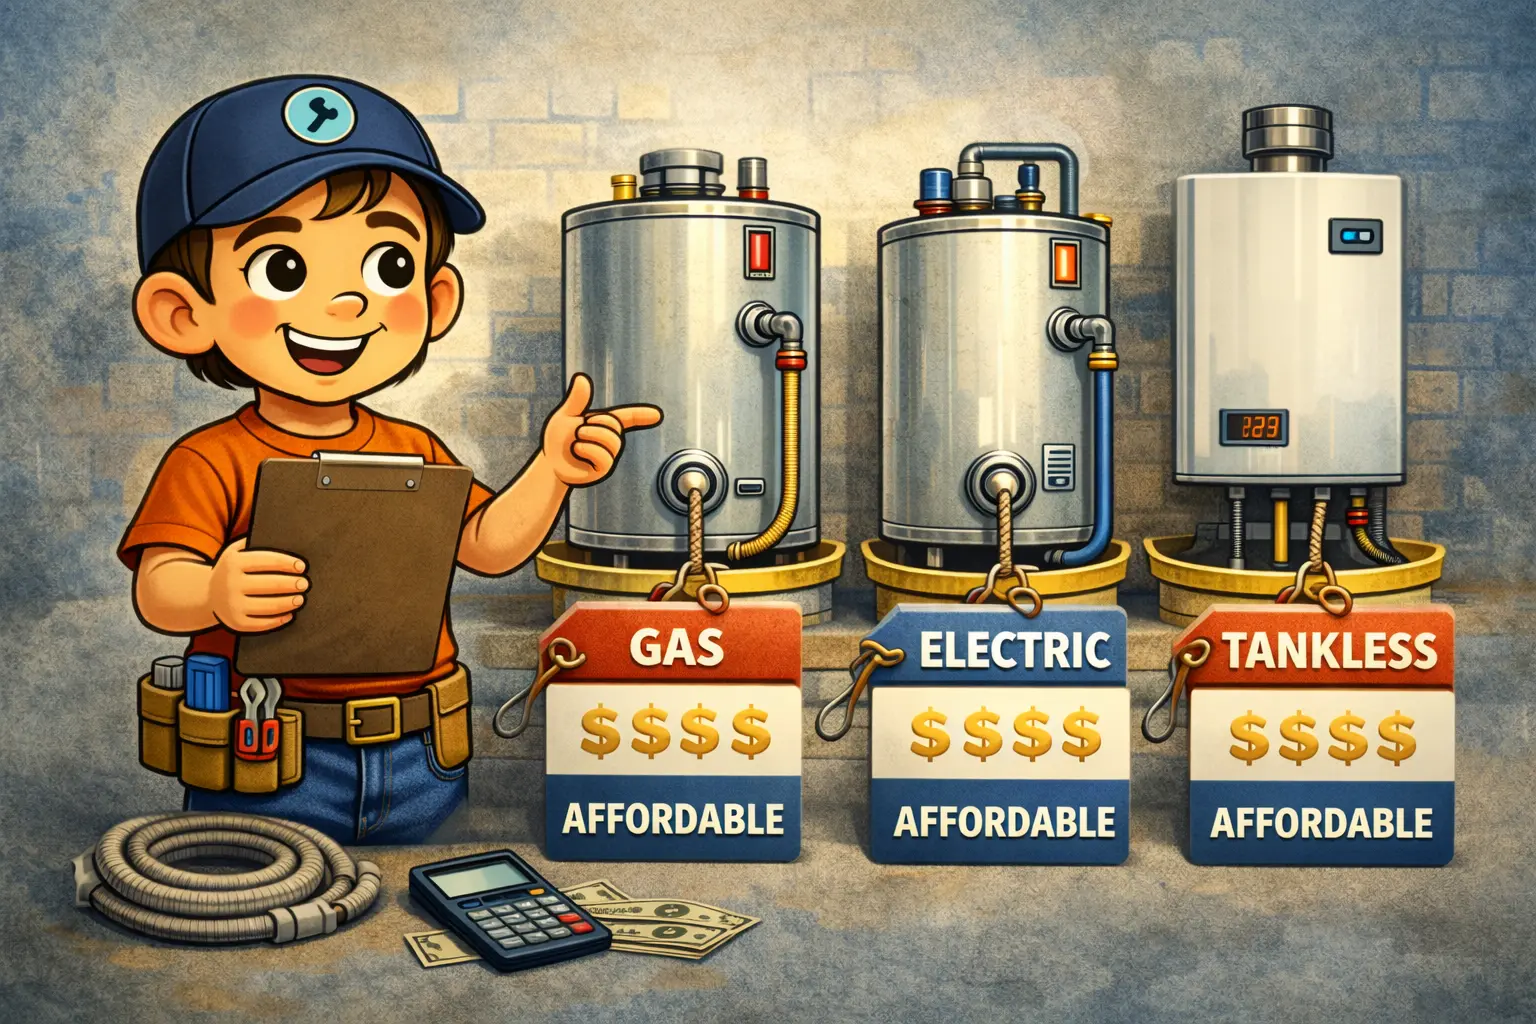
1) Fuel type match (gas vs electric)
The new unit should match the home’s existing fuel type unless you’re planning a conversion. Converting fuel types is possible in some situations, but it increases complexity because it can require electrical work, gas work, venting changes, and sometimes permitting considerations.
2) Venting condition and fit (gas units)
For gas water heaters, venting matters. A safe install includes verifying the vent connection is secure, properly routed, and in good condition. Poor venting can create safety risks and performance issues, so this is one of the key requirements for gas installs.
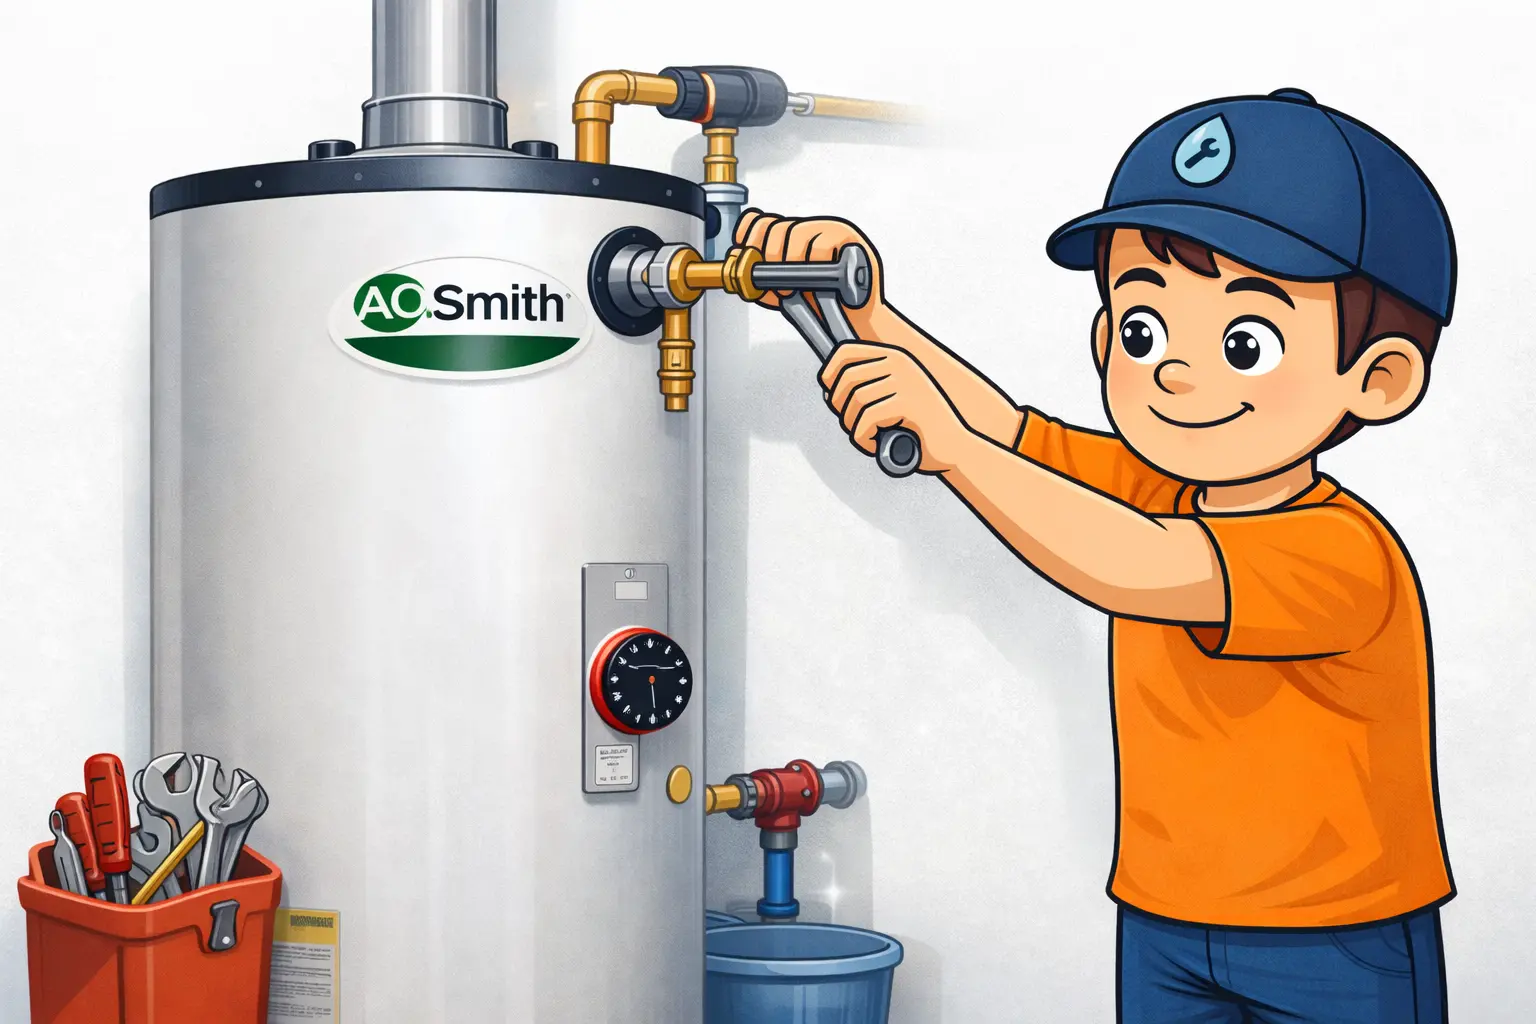
3) Connection updates (shutoff valves, supply lines, fittings)
Connections should be secure, properly supported, and not “forced” into awkward angles. During replacement, it’s common to evaluate whether shutoff valves, supply lines, and fittings need updating—especially if they’re old, corroded, or don’t operate properly.
If you’re unsure about shutoff valve condition or location, see: Water Shut-Off Valve Service (Clearwater).
4) Drain pan and discharge routing
A drain pan is often used in areas where a leak could cause damage (closets, interior spaces, upper floors). Proper discharge routing helps direct water safely if a leak or discharge occurs.
If your heater has leaked before, this emergency guide is useful: Water Heater Leaking: What to Do.
5) Space and access
Tight closets, attic installs, and odd placements can add time and labor. Safe access matters for installation and future service. If a heater is wedged into an unsafe spot, installers may recommend changes that improve access and reduce future problems.
Upgrades that add planning
Some upgrades are great improvements—but they usually require more planning upfront. These are the most common:
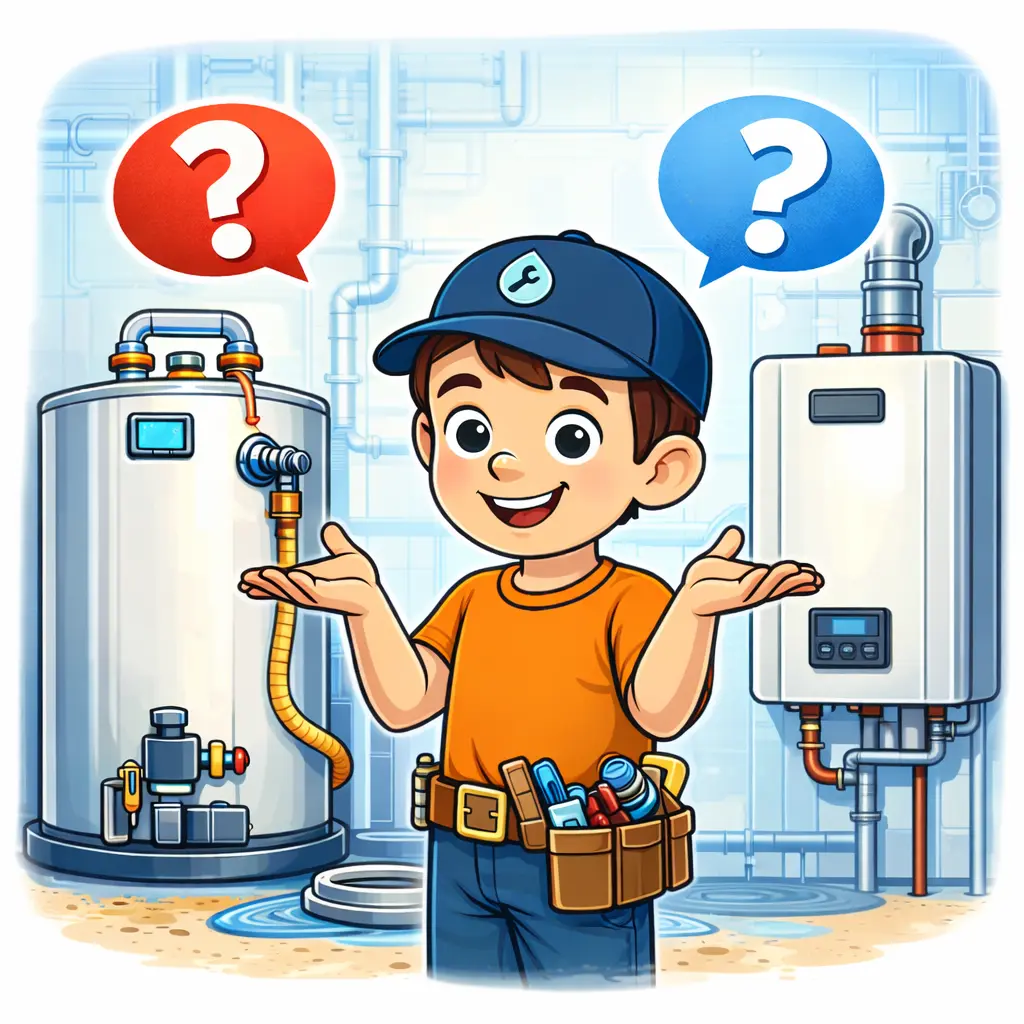
1) Switching from tank to tankless
Tankless installations can be a smart upgrade for efficiency and steady hot water, but compatibility matters. Tankless installs often involve requirements like venting strategy (for gas models), supply capacity, condensate management, and mounting location. If you’re comparing options, start here: Tank vs Tankless Water Heater.
2) Relocating the water heater
Relocation affects routing, space planning, drainage strategy, and accessibility. It can also change labor and material needs. If you’re relocating because of leaks or damage, this guide may help you plan: What to Do if Your Water Heater Is Leaking.
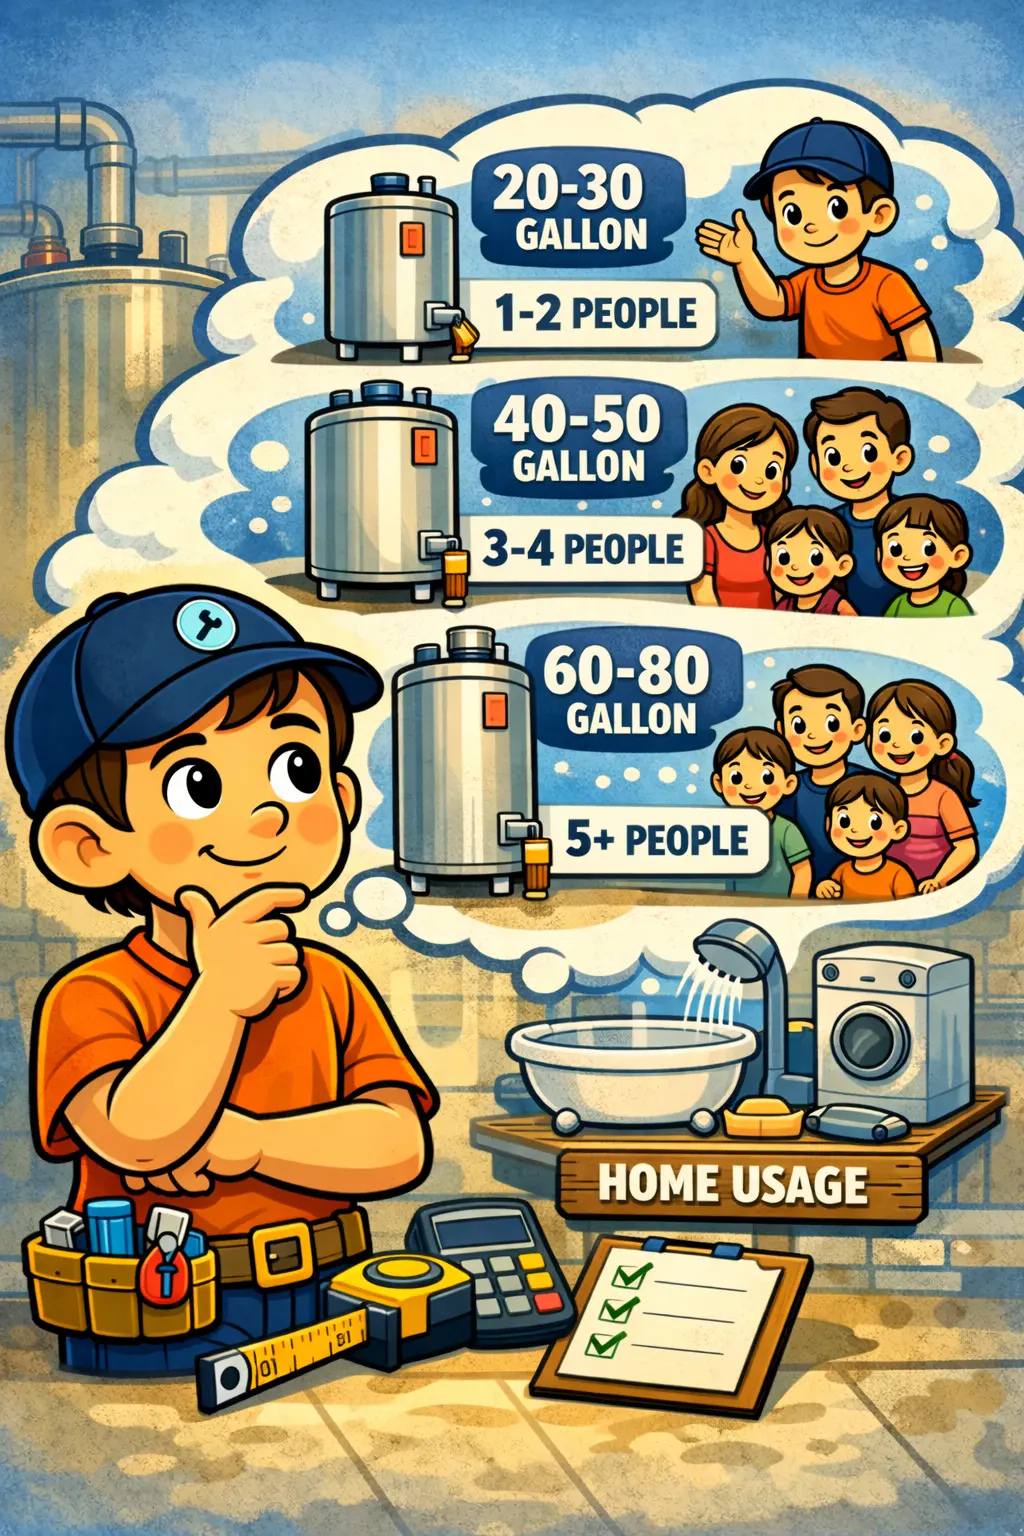
3) Increasing capacity significantly
Increasing tank size or upgrading performance needs may require space adjustments and changes to connections. Bigger isn’t always better—right-sizing prevents wasted money and avoids performance disappointment. Use: Water Heater Sizing Guide and What Size Water Heater Do I Need?.
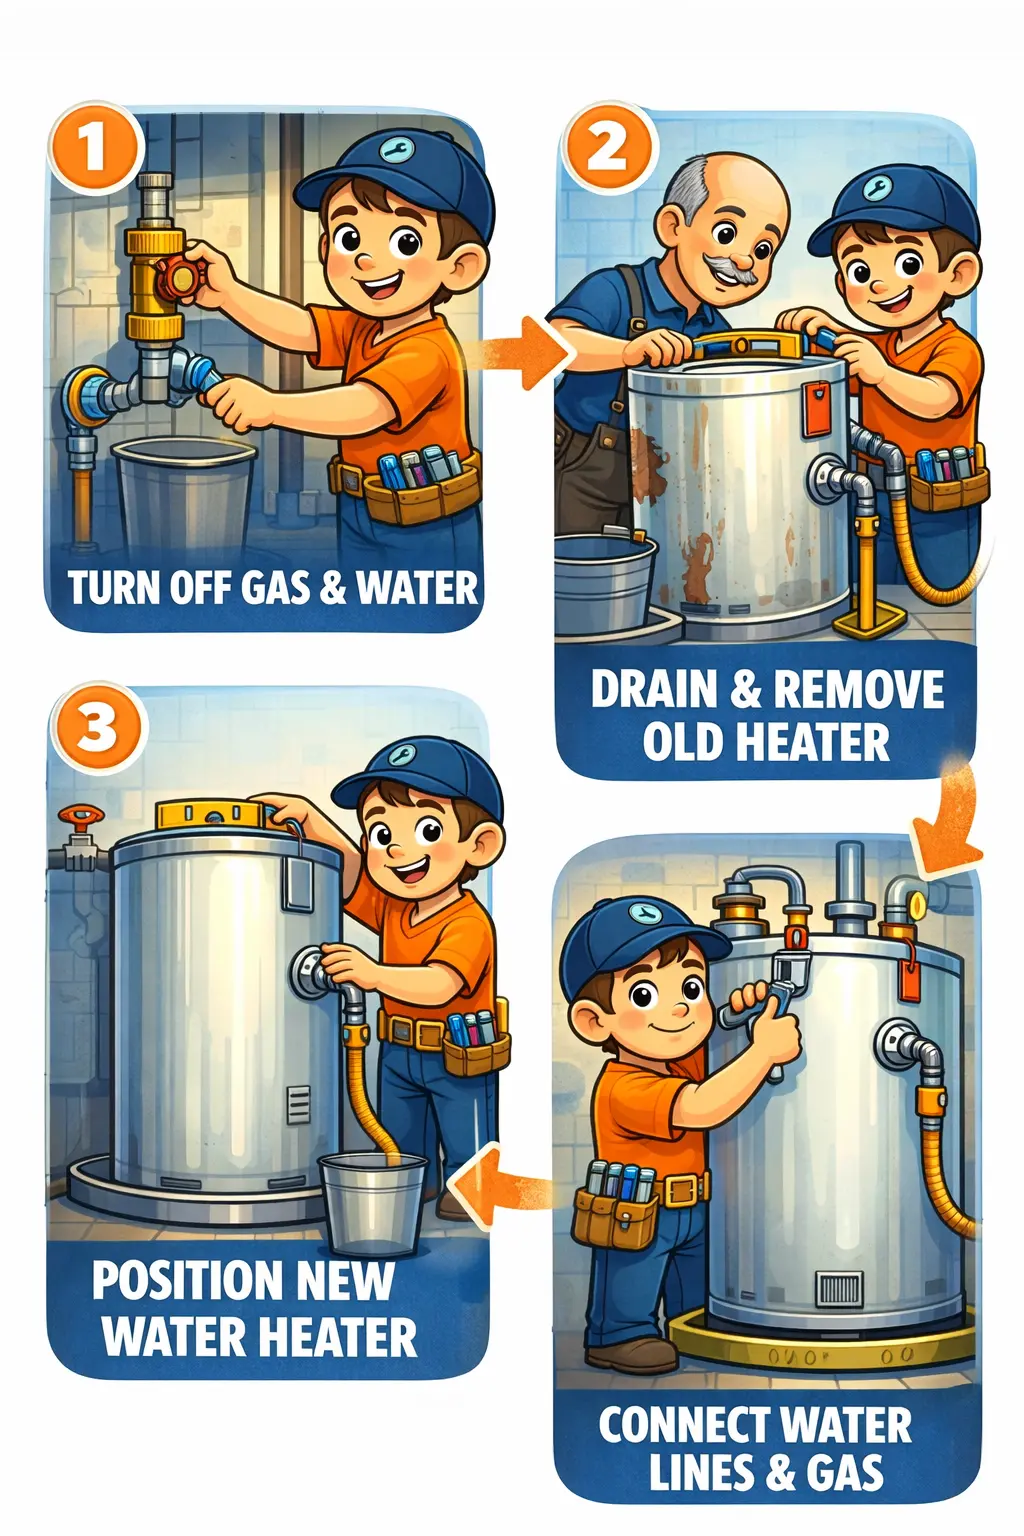
What a “verified” install should include
A great installation is more than hooking up lines. The finish should include verified performance and a simple walkthrough so you know what you’re getting.
- Clean removal of the old unit and protection of the work area
- Tidy, secure connections (no wobbly lines or forced angles)
- Leak checks at visible fittings and connections
- Heating verified (not just “it turned on”)
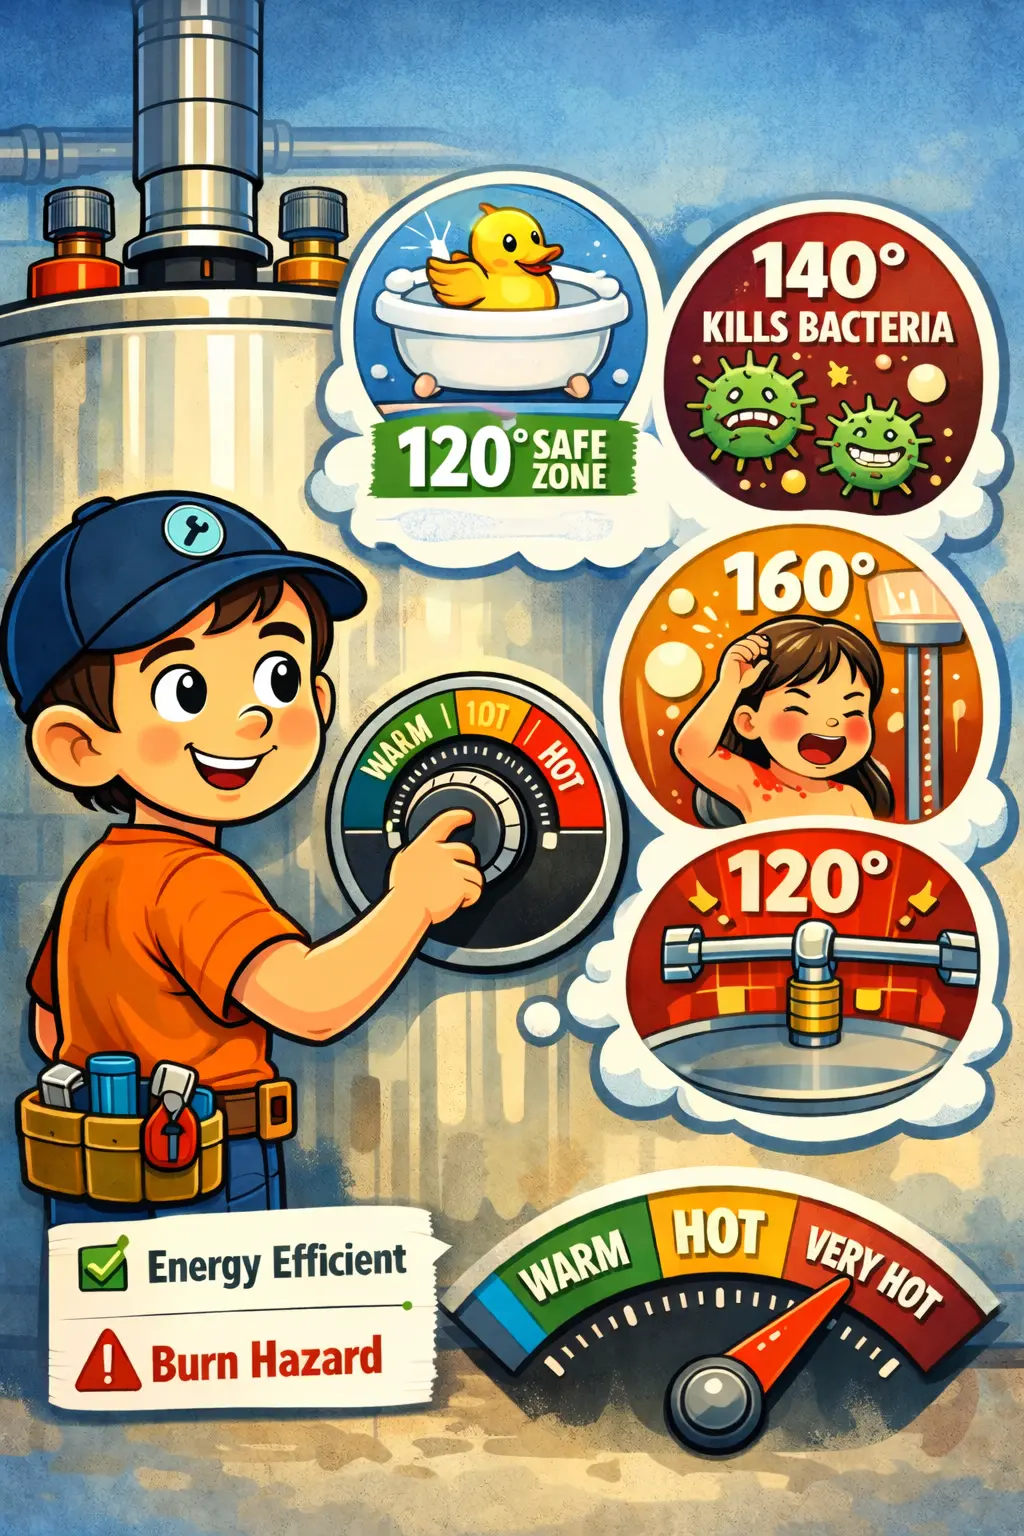
- Temperature settings reviewed and explained
- Shutoff location explained so you can respond quickly if needed
For a complete checklist, use: Water Heater Installation Checklist.
How to avoid surprise issues (and surprise costs)
The best way to avoid surprise problems is to confirm requirements before installation day. Here’s a simple checklist you can use when scheduling:
- Confirm fuel type and whether any conversion is being considered.
- Ask about venting (gas units): condition, connection, and whether changes are expected.
- Ask what parts are included: valves, supply lines, fittings, drain pan, discharge routing, haul-away.
- Confirm access constraints: closets, attic, tight spaces, stairs, or parking limits.
- Request verified startup and a basic walkthrough at completion.
If you want to understand how requirements and upgrades change pricing, read: Water Heater Replacement Cost Factors.
Need installation service options: Water Heater Installation Near Me, Clearwater, Largo, or Belleair Bluffs.